In this article, we will show you how to install Apache CouchDB on a Debian 9 VPS.
Apache CouchDB is a free and open-source NoSQL document-oriented database solution that uses JSON to store data. CouchDB 
Table of Contents
Step 1: Log in via SSH and Update the System
Log in to your Debian 9 VPS via SSH as the root user (or as a user with sudo privileges):
ssh root@Server_IP_Address -p Port_Number
of course, you will need to replace Server_IP_Address and Port_Number with your actual server IP address and SSH port number.
By running the following command, all currently installed packages on your system will be updated and upgraded to their latest available versions:
apt update && apt upgrade -y
Step 2: Install a Web Server
First, you need to install a web server to run CouchDB. You can choose any web server that is available for Debian 9 and then install it on your server – however, in this tutorial we will use and install Nginx as our web server. By executing the following command, you can install the Nginx Web server on your VPS.
apt install nginx
When the installation is finished, you can start Nginx and also enable it to start on server boot with these commands.
systemctl start nginx
systemctl enable nginx
We will now also install several dependencies that are needed in order to install CouchDB correctly and successfully.
apt-get install apt-transport-https curl -y
Step 3: Download/Enable the CouchDB Repository
Unfortunately, CouchDB is not available in the pre-installed repositories found in Debian 9. We will add the official Apache CouchDB repository instead with the following command:
echo "deb https://apache.bintray.com/couchdb-deb stretch main" \
| sudo tee -a /etc/apt/sources.list
Once that is done, we can then add the repository’s key with the following command:
curl -L https://couchdb.apache.org/repo/bintray-pubkey.asc \
| sudo apt-key add -
Now we can install CouchDB using our newly-installed repository.
Step 4: Install CouchDB
Since we enabled the CouchDB repository in the previous step, we now need to update the repository cache and install the Apache CouchDB package:
apt-get update && apt-get install couchdb
During the installation, it will prompt you about which type of installation you prefer – standalone, or clustered:
 ┌──────────────────────────┤ Configuring couchdb ├──────────────────────────┐
 │                                                                           │
 │ Please select the CouchDB server configuration type that best meets your  │
 │ needs.                                                                    │
 │                                                                           │
 │ For single-server configurations, select standalone mode. This will set   │
 │ up CouchDB to run as a single server.                                     │
 │                                                                           │
 │ For clustered configuration, select clustered mode. This will prompt for  │
 │ additional parameters required to configure CouchDB in a clustered        │
 │ configuration.                                                            │
 │                                                                           │
 │ If you prefer to configure CouchDB yourself, select none. You will then   │
 │ need to edit /opt/couchdb/etc/vm.args and /opt/couchdb/etc/local.d/*.ini  │
 │ yourself. Be aware that this will bypass *all* configuration steps,       │
 │ including setup of a CouchDB admin user - leaving CouchDB in "admin       │
 │                                                                           │
 │                  General type of CouchDB configuration:                   │
 │                                                                           │
 │                                standalone                                 │
 │                                clustered                                  │
 │                                none                                       │
 │                                                                           │
 │                                 <Ok>                                      │
 |                                                                           |
 └───────────────────────────────────────────────────────────────────────────┘
We will choose the standalone type for this tutorial. Keep in mind that you may need to choose ‘clustered’, depending on your specific use case. For most cases, only a ‘standalone’ version of CouchDB is needed. Select it and press the [Enter] key to continue. Next, you will be asked to choose an interface bind address. We will select the default installation option.
  ┌─────────────────────────┤ Configuring couchdb ├──────────────────────────┐
  │ A CouchDB node must bind to a specific network interface. This is done   │
  │ via IP address. Only a single address is supported at this time.         │
  │                                                                          │
  │ The special value '0.0.0.0' binds CouchDB to all network interfaces.     │
  │                                                                          │
  │ The default is 127.0.0.1 (loopback) for standalone nodes, and 0.0.0.0    │
  │ (all interfaces) for clustered nodes. In clustered mode, it is not       │
  │ allowed to bind to 127.0.0.1.                                            │
  │                                                                          │
  │ CouchDB interface bind address:                                          │
  │                                                                          │
  │ 127.0.0.1_______________________________________________________________ │
  │                                                                          │
  │                                 <Ok>                                     │
  │                                                                          │
  └──────────────────────────────────────────────────────────────────────────┘
Now we’ll need to choose a new password for the CouchDB admin user:
   ┌─────────────────────┤ Configuring couchdb ├────────────────────────┐
   │ It is highly recommended that you create a CouchDB admin user,     │
   │									│
   │ which takes CouchDB out of the insecure "admin party" mode. 	│
   │									│
   │ Entering a password here will take care of this step for you.      │
   │                                                                    │
   │ If this field is left blank, an admin user will not be created.    │
   │                                                                    │
   │ A pre-existing admin user will not be overwritten by this package. │
   │                                                                    │
   │ Password for the CouchDB "admin" user:                             │
   │                                                                    │
   │ *************_____________________________________________________ │
   │                                                                    │
   │                              <Ok>                                  │
   │                                                                    │
   └────────────────────────────────────────────────────────────────────┘
Re-enter the password one more time:
    ┌────────────┤ Configuring couchdb ├─────────────┐
    │                                                │
    │                                                │
    │ Repeat password for the CouchDB "admin" user:  │
    │                                                │
    │ ************__________________________________ │
    │                                                │
    │                     <Ok>                       │
    │                                                │
    └────────────────────────────────────────────────┘
Once the installation is finished, we will start our new CouchDB instance and enable it to start on boot:
systemctl start couchdb
systemctl enable couchdb
Step 5: Setting up Nginx
In order to access Apache CouchDB on your browser with a domain or subdomain, you will need to create an Nginx configuration file with a reverse proxy. We will use nano as our text editor and create the CouchDB configuration file:
nano /etc/nginx/sites-available/couchdb.conf
Insert the following configuration in the new couchdb.conf file. Remember to change domain-name.com with your actual domain.
server {
    listen 80;
        server_name  domain-name.com;

        server_name_in_redirect off;
        proxy_set_header Host $host:$server_port;

location / {
        proxy_pass  http://127.0.0.1:5984;
        proxy_redirect off;
        proxy_buffering off;
        proxy_set_header Host $host;
        proxy_set_header X-Forwarded-For $proxy_add_x_forwarded_for;
    }

}
Once you’re done editing, save and close the file. To enable this configuration, run the following command:
ln -s /etc/nginx/sites-available/couchdb.conf /etc/nginx/sites-enabled/
You can test the Nginx configuration file for correct syntax with the command:
nginx -t
or
service nginx configtest
If the test passes, restart the web server to include the changes we made.
systemctl restart nginx
Step 6: Access the CouchDB Web Interface
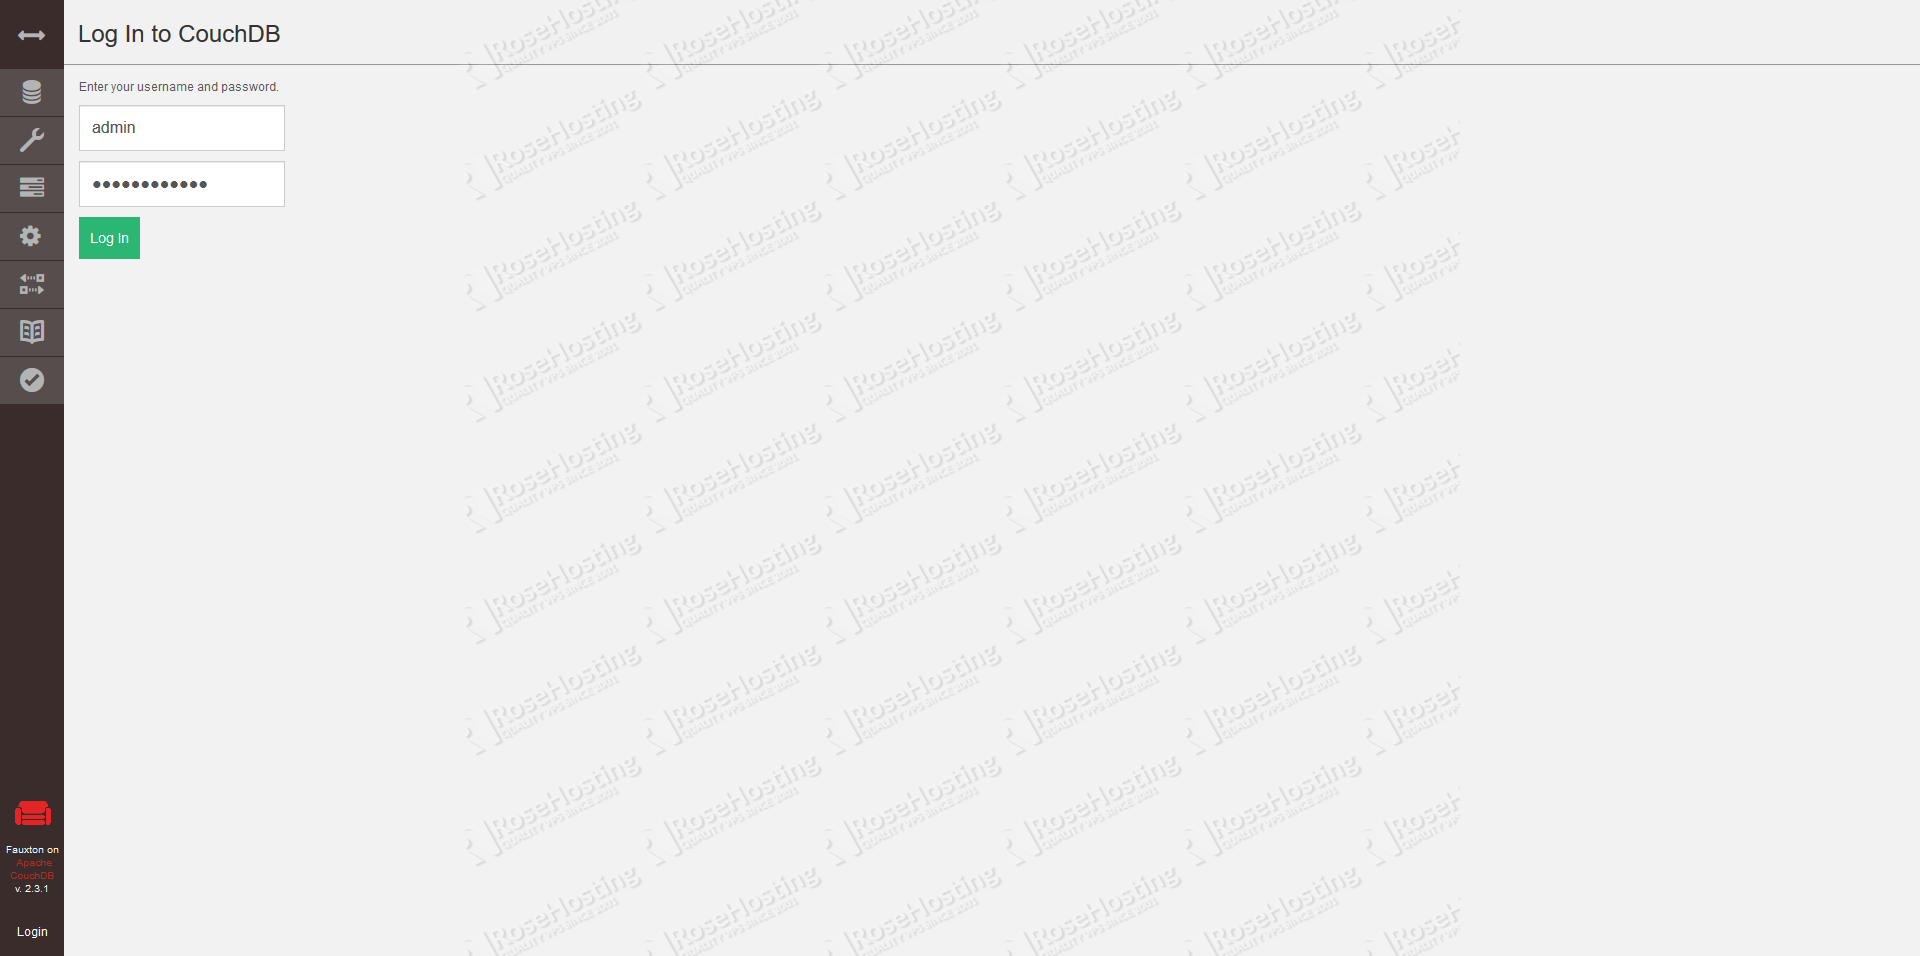
If you carefully followed the previous steps, you should be able to access the http://domain-name.com/_utils/ CouchDB web-based interface called ‘Fauxton’ in your preferred web browser.
To log in to your CouchDB instance you can use the credentials that you defined during the installation. That’s it! You now have a fully-functioning CouchDB server set up.

PS. If you liked this post on how to install CouchDB on Debian 9, please share it with your friends through the social networks by using the buttons below, or simply leave a comment in the comments section. Thanks.

