In this tutorial, we will show you how to install WonderCMS on a Debian 9 VPS.

database.js. The database.js file is structured in the JSON format.
Installing WonderCMS on Debian 9 is an easy task if you follow the steps below carefully. Let’s begin with the installation.
Table of Contents
Prerequisites:
- A Debian 9 VPS (we’ll be using our SSD 1 VPS plan)
- Apache web server 2.0 or higher compiled with the mod_rewrite Apache module. Alternatively, we can use Nginx as a web server with PHP support.
- PHP 7.1 or higher (PHP 7.2 is preferred) with the following PHP extensions enabled: CURL, Zip and mbstring.
- Access to the root user account (or access to an admin account with root privileges)
Step 1: Log in to the Server & Update the Server OS Packages
Log in to your Debian server via SSH as the root user:
You will need to replace ‘IP_Address‘ and ‘Port_number‘ with your server’s respective IP address and SSH port number. Additionally, replace ‘root’ with the username of the admin account if necessary.
Before we can start with the WonderCMS installation, we have to make sure that all Debian packages installed on the server are up to date. We can do this by running the following commands:
Step 2: Apache Web Server Installation
To install the Apache web server, run the following command:
After the installation is complete, enable Apache to start automatically upon server boot with:
We can also check the status of our Apache service with the following command:
Output:
If your Apache web server is not started, you can start it with the simple ‘start’ command using systemctl:
Step 3: Install PHP 7.2 and Required PHP Packages
Import the signing key and enable the PPA for PHP 7.2 by using the following commands:
Install the ca-certificates and apt-transport-https packages by running the following command:
Once you are done with this, run the package index update once again using the command below:
Install PHP 7.2 and PHP extensions:
Disable PHP 7.0:
Then, enable PHP 7.2:
Step 4: Create a new Apache Configuration File
Create a new Apache configuration file for the domain/subdomain name that we will be using to access the WonderCMS application. For this tutorial, we will use ‘yourdomain.com‘.
Add the following lines:
Do not forget to replace ‘yourdomain.com‘ with the actual domain name you want to use to access the WonderCMS instance.
Save the file, close it and disable the default Apache configuration:
Enable the “wondercms.conf” configuration in Apache using:
Optionally, we can use this command to enable it:
Step 5: Enable the Apache Rewrite Module
Enable Apache rewrite module if it is not already done:
Test the Apache configuration:
Restart Apache for the changes to take effect:
Step 6: Edit the PHP Configuration File
Locate the PHP configuration file:
The output should be something like this:
Edit the php.ini configuration file:
Add/modify the following options:
Then, restart the Apache service for the changes to take effect:
Step 7: Install WonderCMS
At the time of writing this tutorial, the latest stable version is WonderCMS 2.7.0. Download the latest stable version of WonderCMS to the /var/www/html/wondercms directory:
Change the correct permissions of the files and directories inside the /var/www/html/wondercms directory for WonderCMS to function properly.
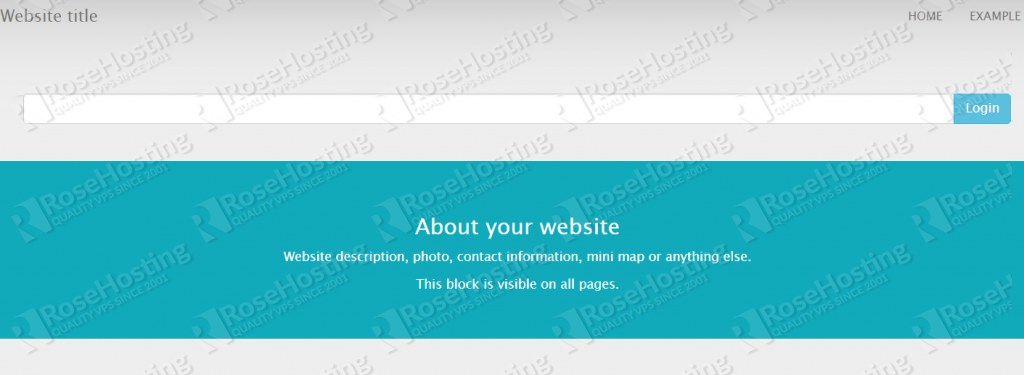
Open http://yourdomain.com in your favorite web browser and copy the password for the WonderCMS back-end, then open http://yourdomain.com/loginURL and reset the login URL and password from the Settings -> Security menu.
That’s it! You now have a working WonderCMS instance on your Debian 9 VPS.

PS. If you liked this post on how to install WonderCMS on Debian 9, please share it with your friends on the social networks using the buttons below or simply leave a reply in the comments sections. Thanks.
