
In this tutorial, we are going to show you how to install Gitblit on our RoseHosting Cloud platform. Also, we will explain how to store and deploy apps using GitBlit.
First of all, you need to know that GitBlit is an open-source pure Java stack. It is made to view, serve and manage the Git repositories. The repositories can be served over HTTP, GIT, and SSH. The main purpose of Gitblit is to work with centralized repositories, support a variety of features like integrating with other Git solutions and work with small groups.
Installing GitBlit can be done with multiple steps via the command line, but our Cloud platform simplifies it with just one click. Let’s see how GitBlit can be installed on RoseHosting Cloud in no time. The installation should take no more than 7 minutes. Let’s Start!
1. Login to RoseHosting Cloud Platform
First, log in to the RoseHosting Cloud Platform.

2. Installing GitBlit via Marketplace
There are two ways for installing GitBlit on our cloud platform, and in this tutorial, we are going to follow the easier way by clicking on the “Marketplace” button as shown in the picture below:

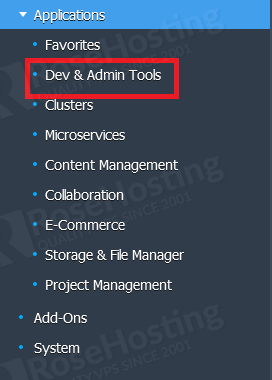
Once clicked, there will be a new window displayed with multiple options to choose from. From the given menu we need to expand the “Applications” menu and click on “Dev & Admin Tools“.
You will notice the “GitBlit” icon on the top right.
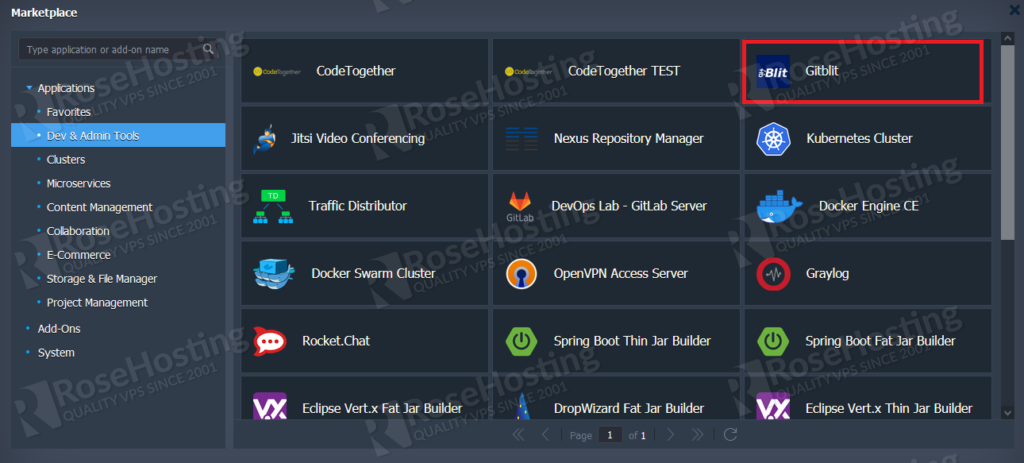
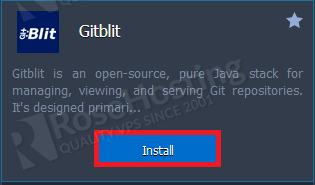
Hover to the “GitBlit” section and click on the blue “Install” button.
Once clicked there will be a new window displayed with the name of your app. Click on the green “Install” button as described below:
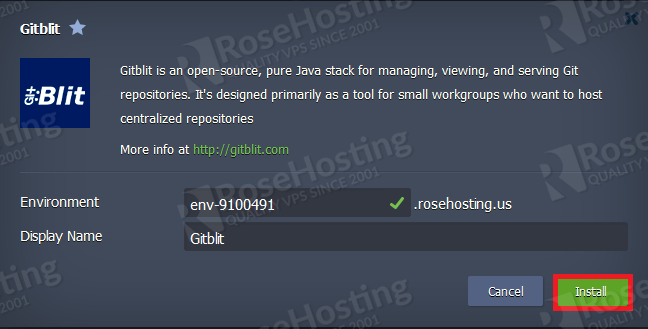
Once clicked on the green “Install” button the package will start to install in the background and also the environment will be prepared.
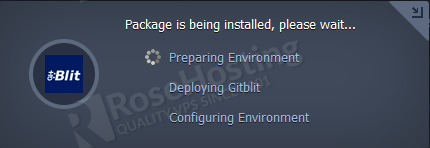
You need to allow some time for the installation process to complete and then your GitBlit environment will be up and running.

We will explain this process in more detail so there is no confusion in the future. With this one-click install, we only installed the environment for the GitBlit and that is the Apache Tomcat service in the background.
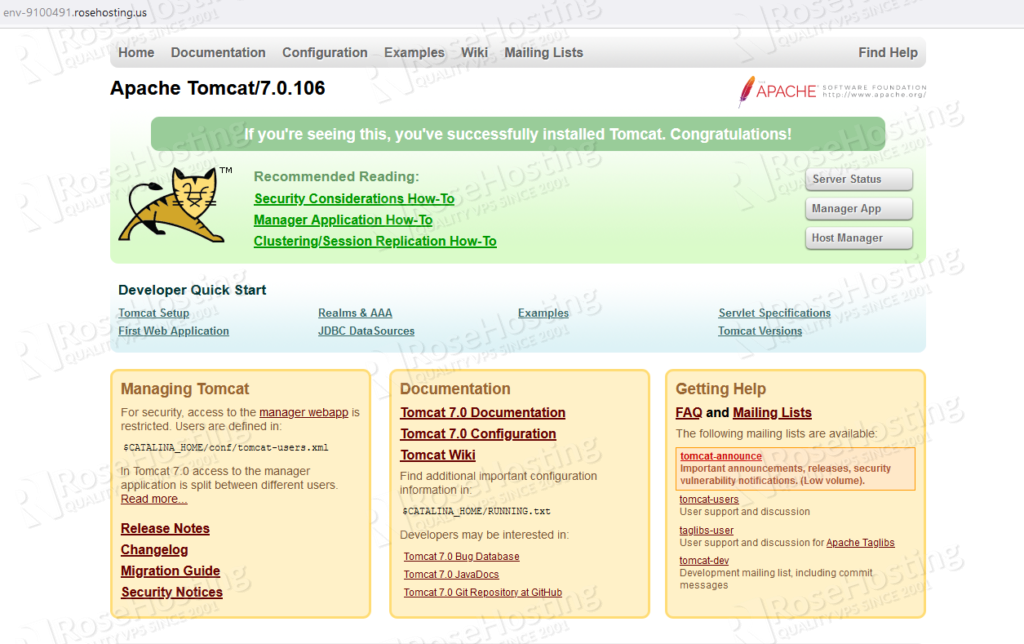
GitBlit was not deployed automatically in this process and that is the next thing that we need to do in the next step in this tutorial. To be sure that our Tomcat service is up and running we can click on the environment name as shown in the picture below:

The following screen should be displayed:
3. Deploying GitBlit
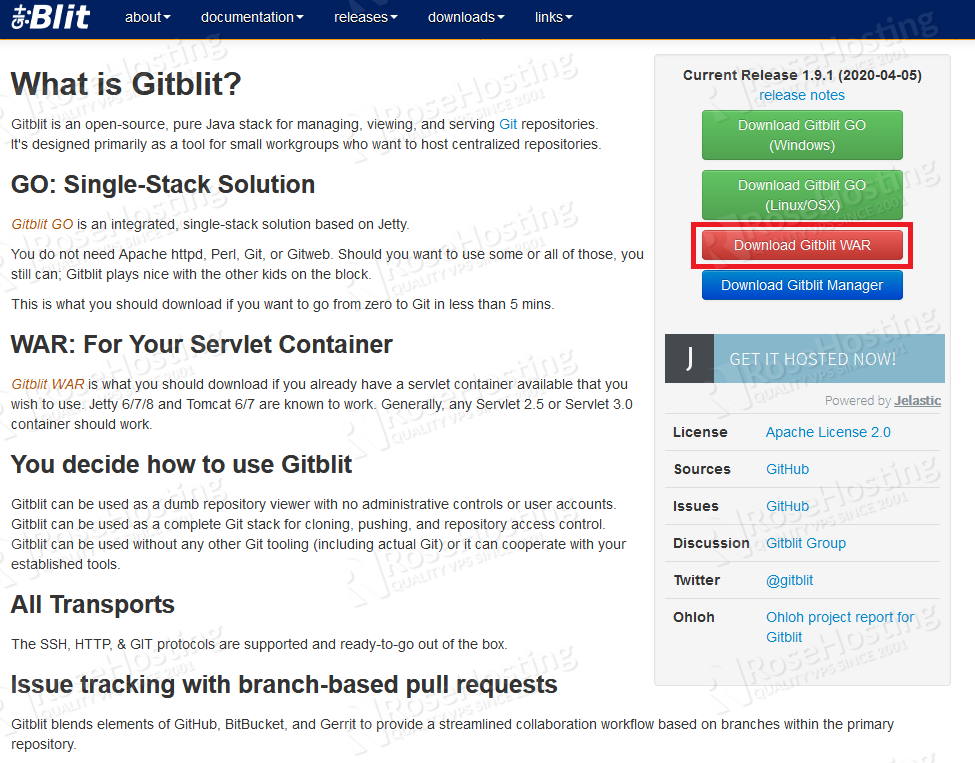
There are three ways to deploy the GitBlit such as deploy from GIT/SVN, deploy from URL, and deploy from WAR file. In this tutorial, we are going to deploy the GitBlit via a “.WAR” file. First of all to download the latest release of the WAR file please visit the official website.
Click on the red “Download Gitblit WAR” button as described in the picture:
After downloading the “.WAR” file we need to deploy it in the cloud platform. Go back to the RoseHosting Cloud Platform and navigate to your environment.
Expand the “Applications Servers” menu under your Gitblit environment and in the “Deployments” option click on the yellow icon called “Deploy Archive“:

Once clicked in the next window you need to click on the “Browse” button and upload your previously save gitblit “.WAR” file. After uploading the file click on Deploy and allow some time for the application to be deployed.
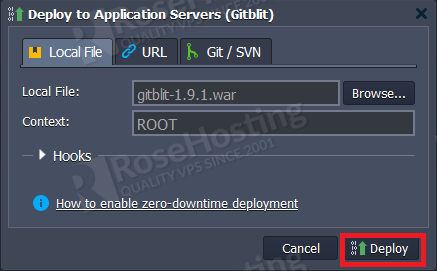
When deploying process finishes, reload the website where previously was running the Apache Tomcat GUI or just click on the “Open in browser” button to ensure that the deployment was successful.

If everything is OK, the Gitblit home page should be displayed. You can log in with the default admin/admin credentials.

4. Create Gitblit Repository
Once logged in click on the “new repository” button on the right:

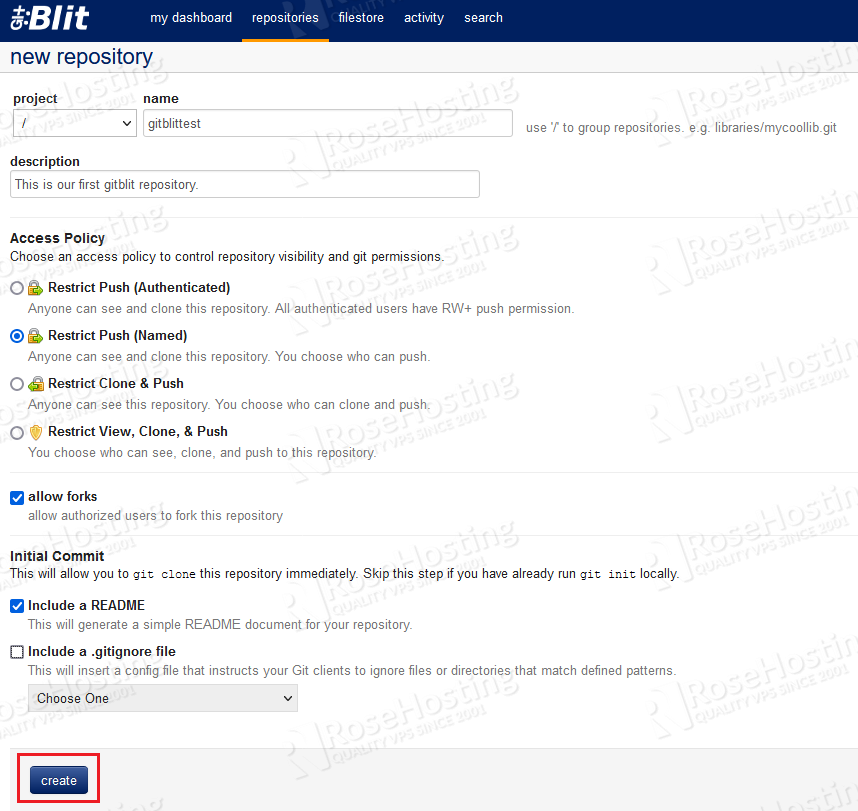
Set the name of your repository and choose an access policy that suits your needs or leave the default settings. Once done click on the blue “create” button:
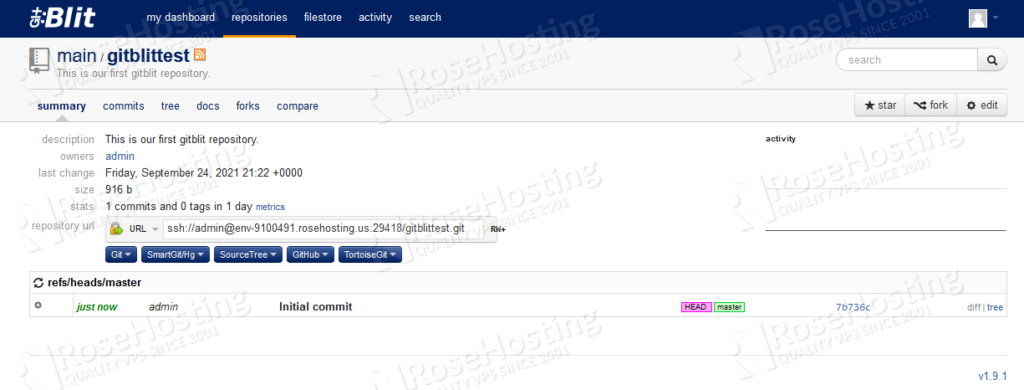
The newly created repository will be shown in no time.
More about using Gitblit you can find at their official webpage at http://gitblit.com or if you have experience with GIT or SVN then there won’t be any unclear thing for you.
That’s it! Congratulations you just learned how to install Gitblit on our RoseHosting platform in no time with just a few steps. Of course, you don’t have to do it by yourself if you use our Cloud Hosting services. You just need to contact our technical support and they will do the rest for you. We are available 24/7.
If you liked this post on how to install Gitblit on our RoseHosting Cloud platform, please share it with your friends on the social networks using the buttons on the left or simply leave a reply below. Thanks.