Sometimes, Windows users experience an issue when accessing a website. When trying to access the website using your web browser, you might see the “Server IP address could not be found” message. Not to worry – there’s not much that could be wrong here. We’ll show you how to fix the “server IP address could not be found” error.
When we open a website, for example, bing.com using a web browser, the web browser will check our device’s DNS settings. The web browser will then ask the DNS server where is bing.com pointed to. The DNS will check bing.com‘s nameservers, who will report the IP address of the domain name. With the IP address, you can now proceed to the bing.com website.
Table of Contents
What is DNS? How does it work?
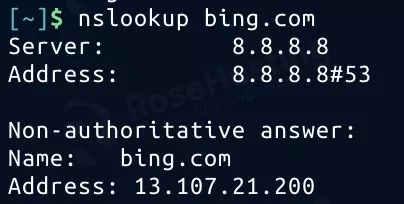
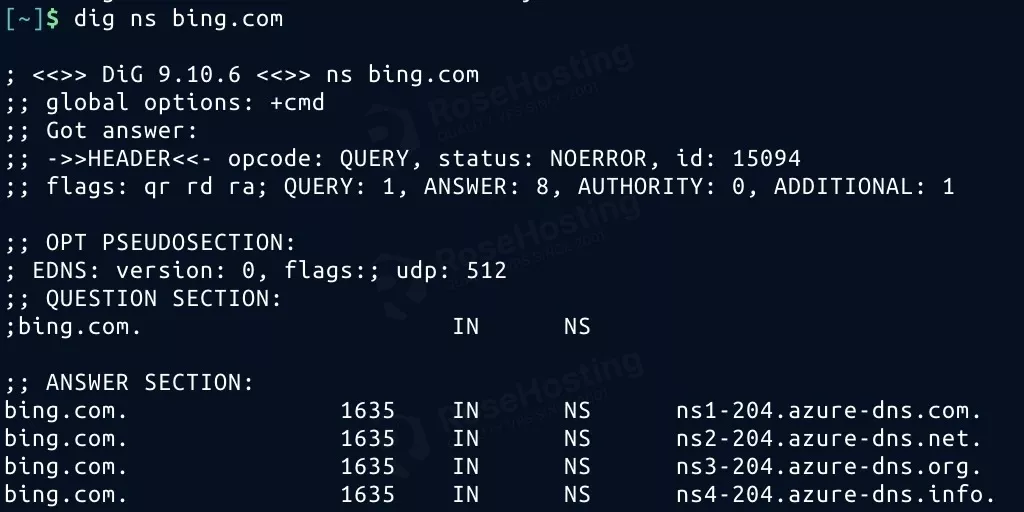
The DNS (Domain Name System) server is responsible for translating a domain name into an IP address. Do not confuse the DNS server with nameservers – nameservers only host and cache the translations. A domain name should be pointed to at least two nameservers to properly work. The following two images can show you the differences between DNS servers and name servers.

In the picture above, we can see that the computer performing the DNS lookup is using 8.8.8.8 as its DNS server. And in the picture below, we can see that bing.com is using ns1-204.azure-dns.com, ns2-204.azure-dns.net, ns3-204.azure-dns.org, and ns4-204.azure-dns.info as its name servers.

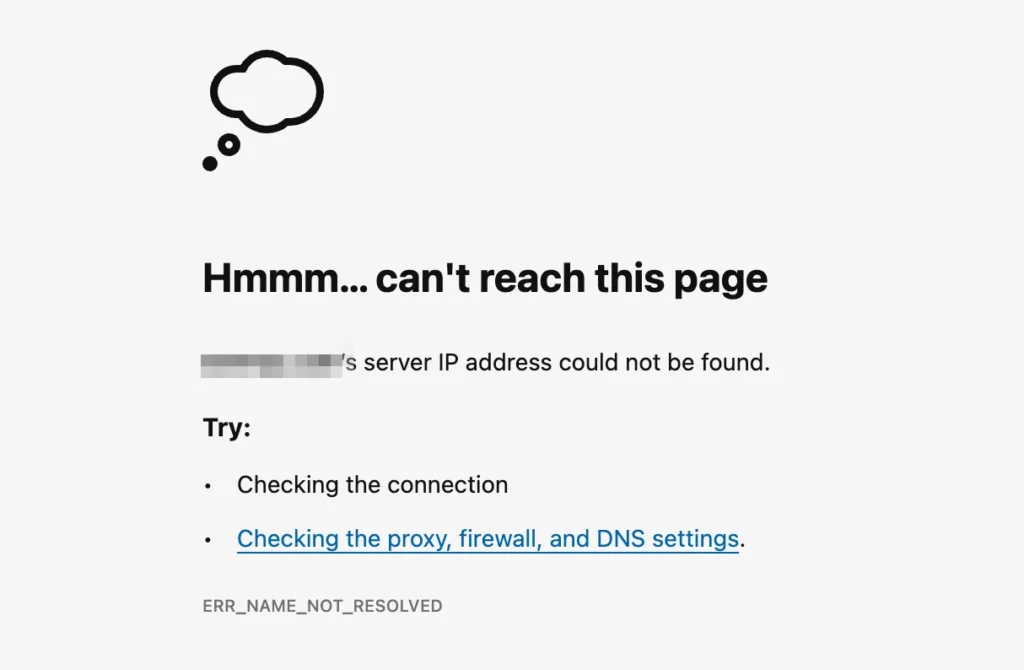
If you see a “server IP address could not be found” message when opening a website, it probably looks like this:

Not to worry though, you can try to solve the issue by following the methods below. First, let’s clear the DNS cache on our operating system before we go and do things in our web browser.
Clear DNS cache on Windows
Open the Terminal app as an administrator on your computer. You can do this by finding the terminal in your Start Menu, then right-click it and select “Run as Administrator”.
Once your Terminal app is open, run the following commands to clear the DNS cache:
ipconfig /flushdns
ipconfig /renew
netsh int ip reset
netsh winsock reset
Clear DNS cache on macOS
To clear the DNS cache on macOS, it also involves opening the Terminal app. Let’s see the steps:
- Open a new Finder window.
- Click on your Applications folder in the left sidebar.
- Open the Utilities folder.
- Open the Terminal app.
Now that your Terminal app is open, paste in the following text and press Enter:
sudo dscacheutil -flushcache; sudo killall -HUP mDNSResponder
You will get a prompt to enter your password. It’s normal for no characters to show up as you type. Type your password in and press Enter.
Clear DNS cache on Linux
Open your Terminal app. Then type or paste in the following:
Check if you are using Systemd’s resolved:
systemctl is-active systemd-resolved
If it returns active, then you can run this next line to clear the DNS cache:
sudo resolvectl flush-caches
If not, you might be using dnsmasq. You can restart that service like so, which will clear the cache:
sudo systemctl restart dnsmasq.service
No matter which OS you are using, make sure to restart your web browser after clearing your operating system’s DNS cache. Try to load the page again. If you’re still seeing the error, proceed to the next step.
Clear Your Web Browser’s DNS Cache
Pick the option you need for the web browser that you’re using.
Fix “Server DNS Address Could Not Be Found” on Google Chrome
- Open Google Chrome and click on the URL bar to select it.
- Type or copy and paste this into the address bar:
chrome://net-internals/#dns - Press the
Enterkey on your keyboard to load the page. - There should be a bold text that says Host resolver cache. Click on the Clear Host Cache button that is next to it.
- Once you click it, there is no visual feedback that something happened. You can try to reload the website you visited now.
Once done, you can restart Google Chrome and try to reproduce the issue.
Fix “Server IP Address Could Not Be Found” on Microsoft Edge
The process is pretty similar to Google Chrome, as they both use the Chromium project as a base.
- Open Microsoft Edge and click on the URL bar to select it.
- Type or copy and paste this into the address bar:
edge://net-internals/#dns - Press the
Enterkey on your keyboard to load the page. - There should be a bold text that says Host resolver cache. Click on the Clear Host Cache button that is next to it.
- Once you click it, there is no visual feedback that something happened. You can try to reload the website you visited now.
Fix “Server Not Found” on Mozilla Firefox
- Open Firefox and click on the URL bar to select it.
- Type or paste in this:
about:config - Agree to the prompt.
- In the search box at the top, type or paste in
network.dnsCacheExpiration - You’ll see two entries, likely set to 60. Double-click on the 60, and change it to 0, then press Enter.
- Do the same for both entries.
- Edit the entries again and set them back to their original value (60).
Fix “Safari Can’t Find the Server” on Safari
- In the menu bar of macOS, click on Safari, then click on “Settings…”
- Click on the “Advanced” tab.
- At the bottom of the Settings window, click on “Show features for web developers”.
- Close the Settings window.
- In the menu bar of macOS, click on Develop, then click on “Empty Caches”, or “Empty Caches for All Profiles”.
Try to load the website again. If the issue is still there, you can try the following methods:
Try on a Separate Device
Use your smartphone, tablet, laptop, etc. to try and access the same website. If your phone is also unable to access the same website, then it’s more than likely that the DNS entry for that website is now gone.
If it does load on a smartphone or other device, then you may have a problem with the DNS settings currently in use on your device with the problem. In that case, you’ll need to change the DNS settings on your device to use a different DNS.
If you’re having this DNS issue on your Managed Linux VPS with us, just let us know and we’ll take care of it for you. We’ll troubleshoot and figure out what the problem is and solve it for you if possible. We are available 24×7 and will take care of your request immediately.
If you liked this post on how to Fix “Server IP Address Could Not Be Found”, please share it with your friends or leave a comment below.