In this tutorial, we are going to install FileRun on Ubuntu 22.04 OS.
FileRun is a storage platform system that allows managing, sharing, and syncing files. FileRun can be an alternative to Google Drive and NextCloud and offers many features like virtual drive support, native mobile apps, metadata support, etc. In this installation, we are going to install the LAMP stack since the tutorial is installing FileRun on Ubuntu 22.04
Installing FileRun is a very easy process that can take up to 20 minutes. Let’s get started!
Table of Contents
Prerequisites
- A server with Ubuntu 22.04 as OS
- User privileges: root or non-root user with sudo privileges
Step 1. Update the System
Update the system packages to the latest versions available before the FileRun installation.
sudo apt-get update -y && sudo apt-get upgrade -y
Step 2. Install Apache Web Server
To install the Apache web server execute the command below:
sudo apt install apache2
Once installed, start and enable the service.
sudo systemctl enable apache2 && sudo systemctl start apache2
Check if the service is up and running:
sudo systemctl status apache2
You should receive the following output:
root@vps:~# sudo systemctl status apache2
● apache2.service - The Apache HTTP Server
     Loaded: loaded (/lib/systemd/system/apache2.service; enabled; vendor preset: enabled)
     Active: active (running) since Thu 2022-06-16 21:35:07 UTC; 4s ago
       Docs: https://httpd.apache.org/docs/2.4/
    Process: 297440 ExecStart=/usr/sbin/apachectl start (code=exited, status=0/SUCCESS)
   Main PID: 297445 (apache2)
      Tasks: 55 (limit: 4579)
     Memory: 5.1M
        CPU: 315ms
     CGroup: /system.slice/apache2.service
             ├─297445 /usr/sbin/apache2 -k start
             ├─297446 /usr/sbin/apache2 -k start
             └─297447 /usr/sbin/apache2 -k start

Jun 16 21:35:07 host.test.vps systemd[1]: Starting The Apache HTTP Server...
Step 3. Install PHP7.4 with dependencies
To install the PHP7.4 along with extensions, execute the following command:
apt install software-properties-common apt-transport-https -y

add-apt-repository ppa:ondrej/php -y

sudo apt update

apt install php7.4 php7.4-common libapache2-mod-php7.4 php7.4-cli php7.4-mysql
Step 4. Install MariaDB database server
To install the MariaDB database server, execute the command below.
sudo apt install mariadb-server
Start and enable the mariadb.service with the following commands:
sudo systemctl start mariadb && sudo systemctl enable mariadb
Check the status of the mariadb.service
sudo systemctl status mariadb
You should receive the following output:
root@vps:~# sudo systemctl status mariadb
● mariadb.service - MariaDB 10.6.7 database server
     Loaded: loaded (/lib/systemd/system/mariadb.service; enabled; vendor preset: enabled)
     Active: active (running) since Thu 2022-06-16 21:38:39 UTC; 37s ago
       Docs: man:mariadbd(8)
             https://mariadb.com/kb/en/library/systemd/
   Main PID: 298238 (mariadbd)
     Status: "Taking your SQL requests now..."
      Tasks: 16 (limit: 4579)
     Memory: 57.2M
        CPU: 3.487s
     CGroup: /system.slice/mariadb.service
             └─298238 /usr/sbin/mariadbd
Step 5. Create Database and Database User
We need to create a database and database user before we install the FileRun storage system.
CREATE DATABASE filerun;
GRANT ALL PRIVILEGES ON filerun.* TO 'filerun'@'localhost' IDENTIFIED BY 'YourStrongPasswordHere';
FLUSH PRIVILEGES;
exit;
Step 6. Download and Install FileRun
Download the FileRun files into the default Apache root directory. Once downloaded, extract it and set the permissions.
cd /var/www/html

wget -O FileRun.zip https://filerun.com/download-latest

unzip FileRun.zip

chown -R www-data:www-data /var/www/html/
Step 7. Create Apache Virtual Host File
Go into the Apache directory and create a configuration file for the FileRun storage application.
cd /etc/apache2/sites-available/

touch filerun.conf
Paste the following lines of code, save the file and close it.
<VirtualHost *:80>
ServerName yourdomain.com
DocumentRoot /var/www/html/

<Directory /var/www/html/>
AllowOverride All
</Directory>

ErrorLog ${APACHE_LOG_DIR}/error.log
CustomLog ${APACHE_LOG_DIR}/access.log combined

</VirtualHost>
Enable the Apache configuration for FileRun and rewrite module.
sudo a2enmod rewrite

sudo a2ensite filerun.conf
Check the syntax:
apachectl -t
You should receive the following output:
root@vps:~# apachectl -t
Syntax OK
If the syntax is OK, restart the Apache service.
systemctl reload apache2
Once the Apache service is restarted, you can finish the FileRun installation at http://yourdomain.com.
Step 8. Finish FileRun Installation
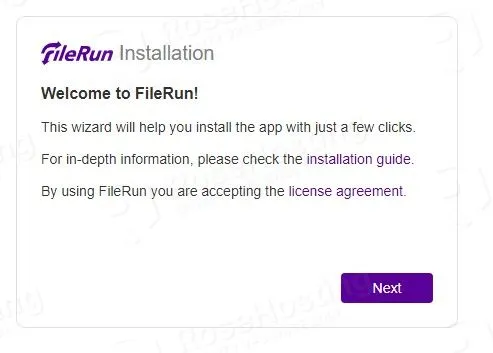
Access the FileRun installation at http://yourdomain.com
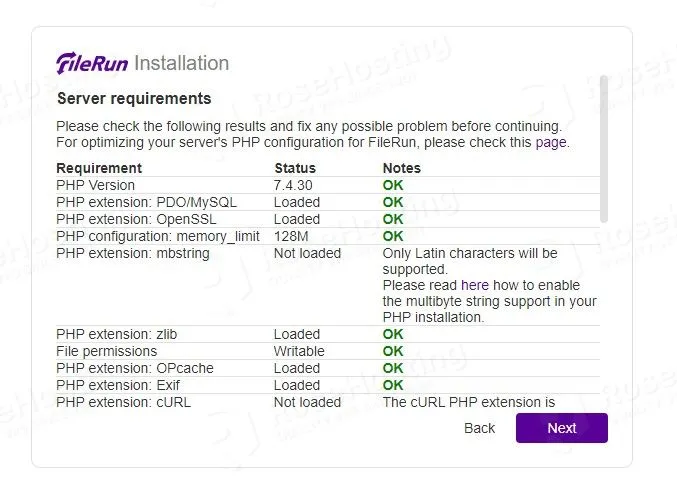
On the next window, there is the requirements checklist.
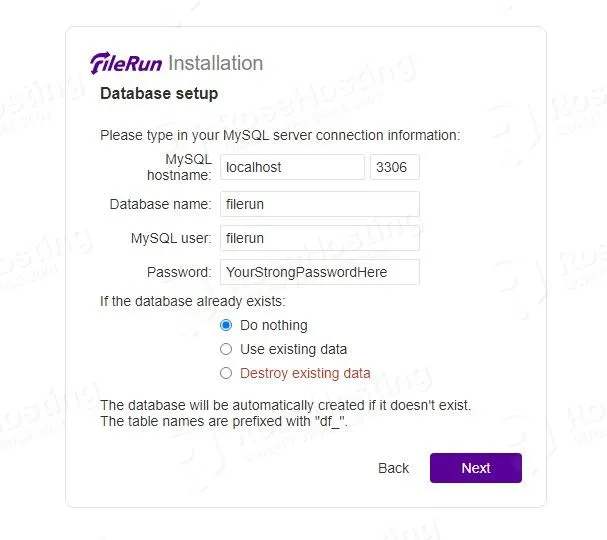
Once the requirements are checked, the next window is database setup.
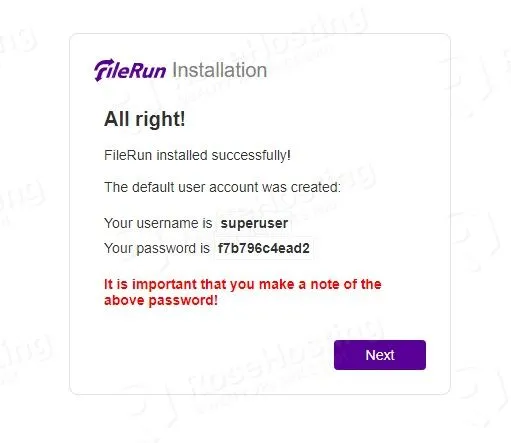
Once the database is configured, the next window will be the credentials for login. Make sure to save them locally.
On the next window, enter the saved credentials and hit on the Sign In button.
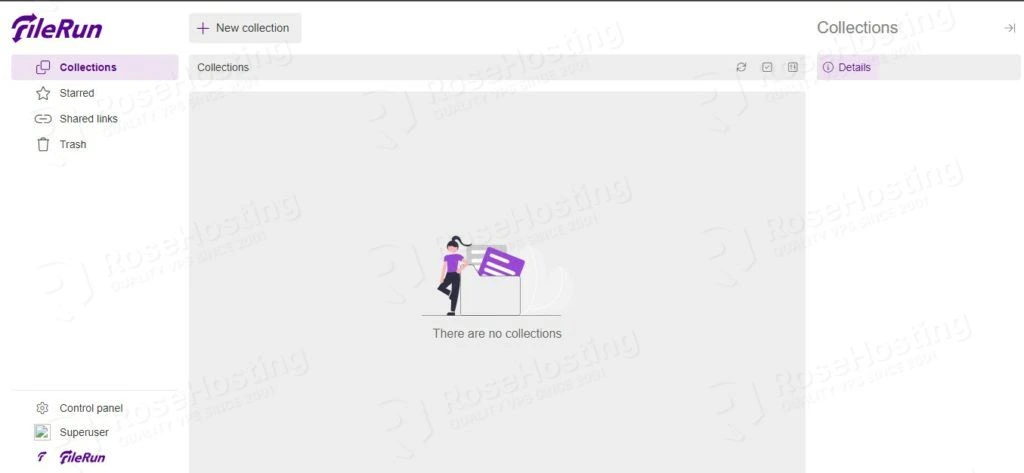
Once logged in, you should be redirected to the FileRun dashboard.
Congratulations! You successfully installed and configured FileRun storage software on Ubuntu 22.04. If you find it difficult to install, you can always contact our technical support and they will do the rest for you. We are available 24/7.
If you liked this post on how to install FileRun on Ubuntu 22.04 with Apache, please share it with your friends on the social networks using the buttons on the left or simply leave a reply below. Thanks.


This needs rework buddy.
Unzip isnt installed by default,
ioncube isnt even handeled by the guide etc…
If your system doesn’t have zip and unzip you can install it by running this command:
sudo apt install zip unzip
ioncube? procedure