Joomla! is a popular open-source CMS written in PHP. It is built on a model–view–controller web application framework, and it offers many features such as blogs, page caching, support for language internationalization, etc.
A number of modules are also available for discussion forums, photo galleries, social media, etc. Joomla! makes it easy to create a personal blog and other personal or community online presences. Installing Joomla! is fairly easy, we will show you how to install Joomla! on Ubuntu 22.04.
Table of Contents
Prerequisites
- An Ubuntu 22.04 VPS
- Full SSH root access or a user with sudo privileges is required
- A domain or subdomain name pointing to your server IP address
Step 1: Log in to your server via SSH
First, you will need to log in to your Ubuntu 22.04 VPS via SSH as the root user:
ssh root@IP_Address -p Port_number
Remember to replace “root” with the sudoer user to log in to your server. Also, remember to replace the IP_Address with your server’s actual IP address and “Port_Number” with your SSH port number. You can check whether you have the proper Ubuntu 22.04 installed on your server with the following command:
# lsb_release -a
It will return an output like this.
No LSB modules are available.
Distributor ID: Ubuntu
Description: Ubuntu 22.04 LTS
Release: 22.04
Codename: jammy
The commands provided in this article are invoked using ‘root’ account. If you want to use your regular user with sudo privileges to run the commands, make sure to append ‘sudo’ in front of the commands.
Step 2: Update the system
Before starting, you have to make sure that all Ubuntu 22.04 packages installed on the server are up to date. You can do this by running the following commands:
# apt update
# apt upgrade
Step 3: Install Nginx and SSL Certificate
In this article, Joomla will be installed on the secured protocol (HTTPS). So, we need to install an SSL certificate before we can proceed with the other steps.
# apt install python3-certbot-nginx nginx-core
The command above will install nginx web server and certbot to issue the SSL certificates from Let’s Encrypt.
Prior to generating a new SSL certificate for your joomla.example.com, make sure you pointed the domain/subdomain DNS A record to your server IP address already. If Certbot
is unable to generate a free SSL certificate, most likely the DNS update is not fully propagated.
# certbot certonly --non-interactive --agree-tos --nginx -m joomla@yourdomain.com -d joomla.yourdomain.com
If successful, you will get an output like this:
Saving debug log to /var/log/letsencrypt/letsencrypt.log
Account registered.
Requesting a certificate for joomla.example.com

Successfully received certificate.
Certificate is saved at: /etc/letsencrypt/live/joomla.example.com/fullchain.pem
Key is saved at: /etc/letsencrypt/live/joomla.example.com/privkey.pem
This certificate expires on 2022-08-17.
These files will be updated when the certificate renews.
Certbot has set up a scheduled task to automatically renew this certificate in the background.

- - - - - - - - - - - - - - - - - - - - - - - - - - - - - - - - - - - - - - - -
If you like Certbot, please consider supporting our work by:
* Donating to ISRG / Let's Encrypt: https://letsencrypt.org/donate
* Donating to EFF: https://eff.org/donate-le
- - - - - - - - - - - - - - - - - - - - - - - - - - - - - - - - - - - - - - - -
Make sure to remember or make a note of these certificates and private key file paths. We would need them to create nginx server block for our Joomla website.
Certificate is saved at: /etc/letsencrypt/live/joomla.example.com/fullchain.pem
Key is saved at: /etc/letsencrypt/live/joomla.example.com/privkey.pem
Step 4: Install PHP
Ubuntu 22.04 ships with PHP 8.1 as the default PHP version. We are going to use this PHP version for our Joomla website. Run this command below to install PHP 8.1 and its required extensions.
# apt install php-{common,curl,fpm,gd,fpm,imagick,intl,mbstring,mysql,xml,xmlrpc,zip}
On Ubuntu 22.04, the PHP-FPM service will be running automatically upon installation. We are going to use the default PHP-FPM www.conf file. To ensure PHP-FPM is running, you can verify it with this command:
# systemctl status php8.1-fpm
Step 5: Configure Nginx
In the previous step, nginx has been installed together with certbot. Nginx is a fast and secure, one of the most popular and widely used web servers in the world.
Next, let’s create a new nginx server block for our Joomla website.
# nano /etc/nginx/conf.d/joomla.example.com.conf
Insert the following into the new configuration file.
upstream php-handler {
    server unix:/run/php/php8.1-fpm.sock;
}
server {
	listen 80;
	server_name joomla.example.com;
	return 301 https://$server_name$request_uri;
}
server {
    listen 443 ssl http2;
    server_name joomla.example.com;
    root /var/www/html/joomla;
    index index.php;
    ssl_certificate /etc/letsencrypt/live/joomla.example.com/fullchain.pem;
    ssl_certificate_key /etc/letsencrypt/live/joomla.example.com/privkey.pem;
    server_tokens off;
	access_log /var/log/nginx/joomla_access.log;
	error_log /var/log/nginx/joomla_error.log;
	location / {
		try_files $uri $uri/ /index.php?$args;
		}
	location ~ \.php$ {
		try_files $uri =404;
		include /etc/nginx/fastcgi_params;
		fastcgi_read_timeout 3600s;
		fastcgi_buffer_size 128k;
		fastcgi_buffers 4 128k;
		fastcgi_param SCRIPT_FILENAME $document_root$fastcgi_script_name;
		fastcgi_pass php-handler;
		fastcgi_index index.php;
		}
	}
Remember to replace joomla.example.com with your actual domain or subdomain name. Save and close the file. Then, check nginx configuration, if everything is okay we can restart nginx service.
# nginx -t
# systemctl restart nginx
Step 5: Install MariaDB Server and Create a Database
Joomla requires a database server to store its data. It supports MySQL/MariaDB and PostgreSQL servers. In this step, we are going to install the MariaDB server from the default Ubuntu repository. To install the MariaDB server, invoke this command:
# apt install mariadb-server
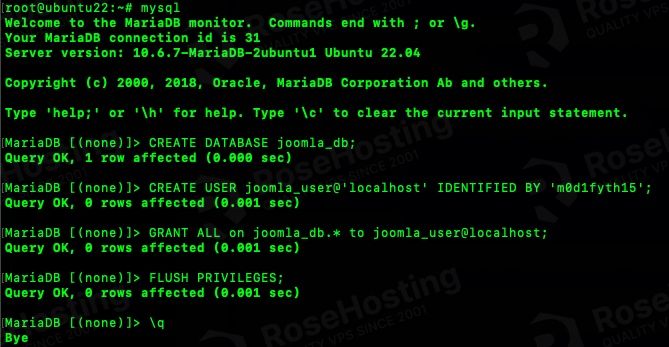
After the installation is completed, the MariaDB server will be automatically running. Now, we can proceed with creating a new database and database user.
# mysql
Once logged in to the MySQL shell, we can run the following commands. You can replace m0d1fyth15 with a stronger password.
mysql> CREATE DATABASE joomla_db;

mysql> CREATE USER joomla_user@'localhost' IDENTIFIED BY 'm0d1fyth15';

mysql> GRANT ALL on joomla_db.* to joomla_user@localhost;

mysql> FLUSH PRIVILEGES;

mysql> \q
Step 6: Install Joomla
Next, let’s create a directory for our Joomla website’s document root then download the latest version of Joomla. To get the download link, you can navigate to the Joomla download page at https://downloads.joomla.org/
# mkdir /var/www/html/joomla
# wget https://downloads.joomla.org/cms/joomla4/4-1-3/Joomla_4-1-3-Stable-Full_Package.zip?format=zip -O /var/www/html/joomla/joomla.zip
# unzip /var/www/html/joomla/joomla.zip -d /var/www/html/joomla
# chown -R www-data: /var/www/html/joomla
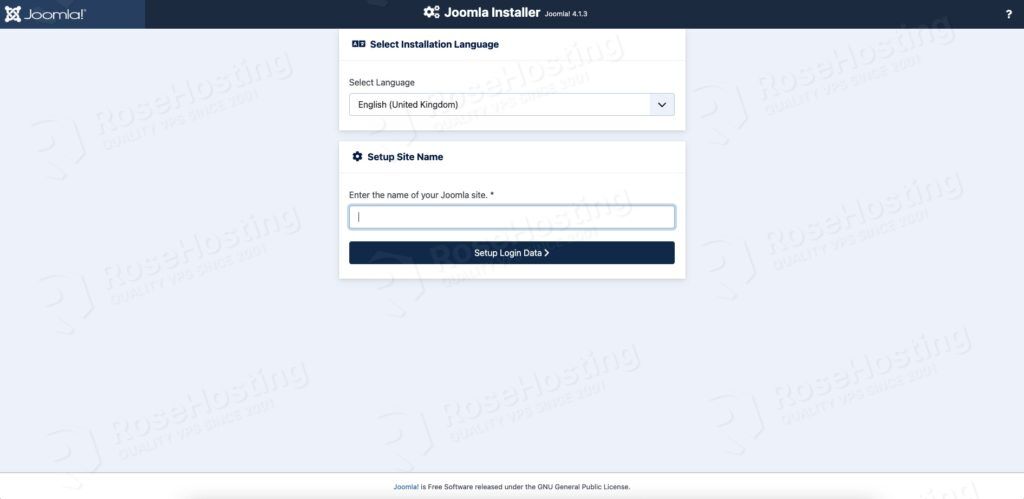
To start the installation, navigate to your https://joomla.example.com/ using any web browser you like.
In this step, you need to type your Joomla website name, for example ‘New Joomla Site’ then click on the ‘Setup Login Data’ button to continue.
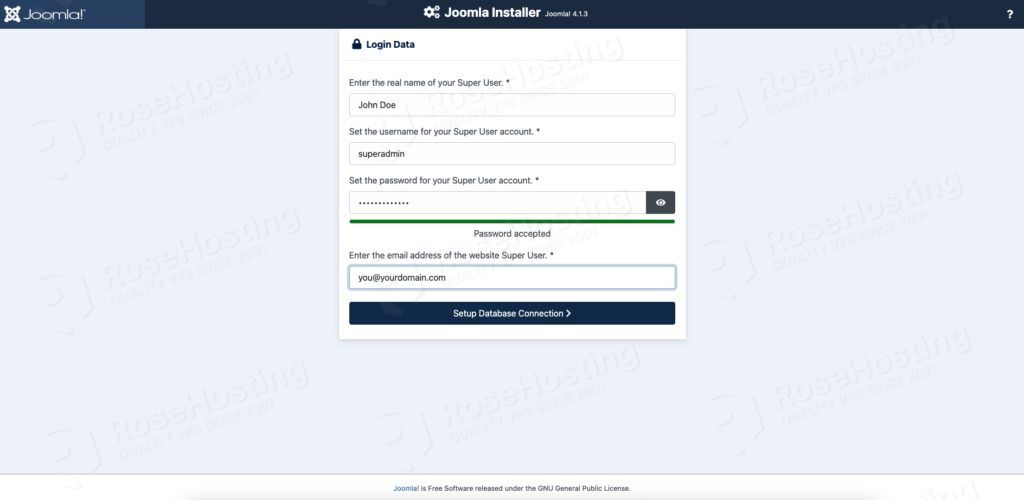
Now, we need to create a super administrator. Fill the required fields in this step, then proceed to the next step by clicking on ‘Setup Database Connection’
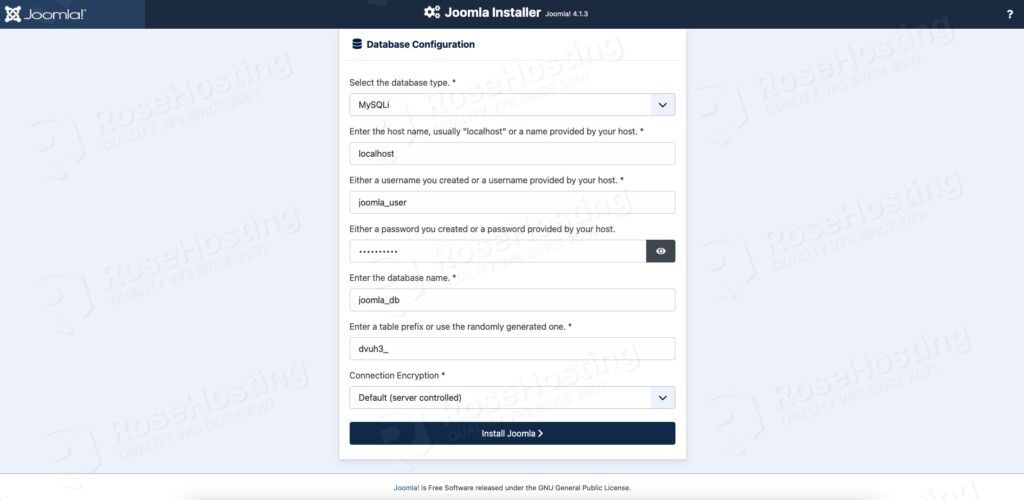
Next, you need to enter the database details you created in step 5 above, then finally click on the ‘Install Joomla’ button.
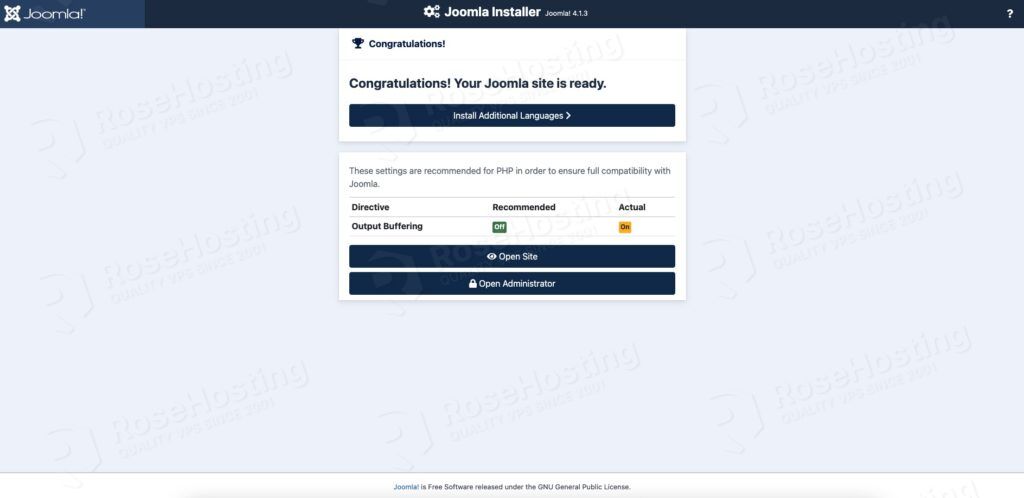
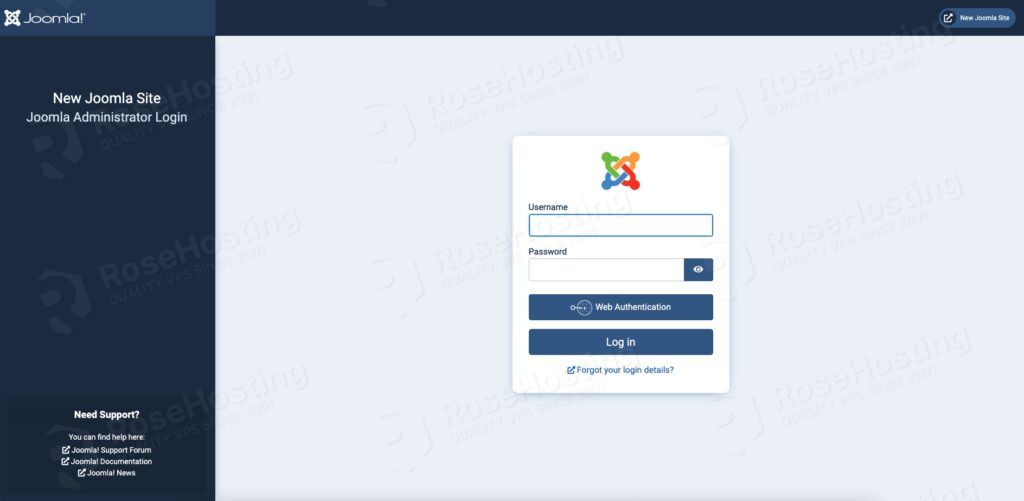
That’s it. You have successfully installed Joomla! at https://joomla.example.com/ and you can go to the website backend by clicking the ‘Open Administrator’ button. You will be brought to the administrator login page.
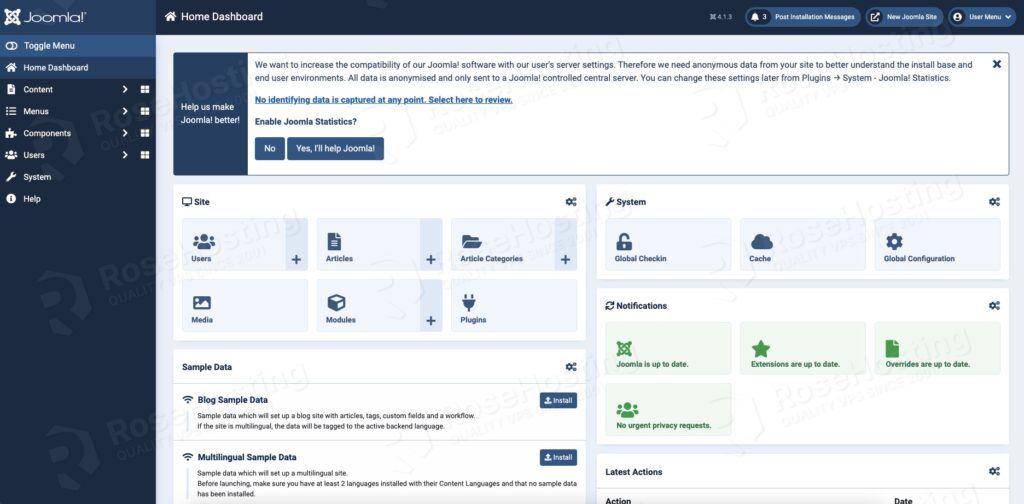
After logging in, you will be in your Joomla dashboard and you can continue customizing your Joomla website there.
Of course, you don’t have to know how to install Joomla! on Ubuntu 22.04 if you have an Ubuntu VPS Hosting with us. You can simply ask our administrators by submitting a ticket to install Joomla! on Ubuntu 22.04 for you. They are available 24/7 and will be able to help you with the installation of Joomla! on Ubuntu 22.04.
PS. If you enjoy reading this blog post on How to Install Joomla! on Ubuntu 22.04, feel free to share it on social networks or simply leave a comment.


