
In this tutorial, we will guide you through the steps of installing Odoo 11 on CentOS 7. We will also install Nginx and configure it as a reverse proxy. Odoo (formerly OpenERP) is a simple and intuitive suite of open-source enterprise management applications such as Website Builder, eCommerce, CRM, Accounting, Manufacturing, Project and Warehouse Management, Human Resources, Marketing, and many more.
Odoo comes in two editions, Community edition which is free, and Enterprise edition. In our case, we will install and use the Community edition. Odoo 11 requires Python 3.5 which is not available in the CentOS repositories. That is the reason why we cannot install the Odoo package via yum
Table of Contents
Requirements:
- CentOS 7 VPS
- SSH access with root privileges
- Python 3
- PostgreSQL server
- Nginx
Step 1:
Login to the server and update
ssh root@IP_Address -p Port_number
yum update
Step 2:
Enable EPEL repository
yum install epel-release
Step 3:
Install Python
To be able to install Python 3 on a CentOS server, we need to enable SCL (Software Collection) repository.
yum install centos-release-scl
Install Python 3.5
yum install rh-python35
Install the packages to meet Odoo requirement
yum install git wget nodejs-less gcc bzip2-devel freetype-devel libjpeg-devel libxslt-devel openldap-devel postgresql-devel
Create system user for Odoo
useradd -m -U -r -d /opt/odoo -s /bin/bash odoo
Step 4:
Install PostgreSQL
yum install postgresql-server
postgresql-setup initdb
Once finished, we can start and enable PostgreSQL on boot
systemctl enable postgresql
systemctl start postgresql
We created a system user named odoo, now we need to create a PostgreSQL with the same name.
su - postgres -c "createuser -s odoo"
Step 5:
Install wkhtmltopdf
It is a command line tool to render HTML into PDF format using the QT Webkit rendering engine. Sometimes we need to print reports in Odoo to PDF, and this tool can help us to do it.
wget https://github.com/wkhtmltopdf/wkhtmltopdf/releases/download/0.12.5/wkhtmltox-0.12.5-1.centos7.x86_64.rpm
yum localinstall wkhtmltox-0.12.5-1.centos7.x86_64.rpm
Step 6:
Install Odoo 11
We created a system user “odoo”, let’s switch to this system user to install Odoo
su - odoo
Next, clone Odoo 11 from GitHub repository:
git clone https://www.github.com/odoo/odoo --depth 1 --branch 11.0 /opt/odoo/odoo11
Enable software collections to enable us to access the Python 3.5 binaries:
scl enable rh-python35 bash
Now, let’s create a virtual environment
cd /opt/odoo
python3 -m venv odoo11-venv
Activate the newly created virtual environment
source odoo11-venv/bin/activate
And now, let’s install all modules:
pip3 install -r odoo11/requirements.txt
Once finished, we need to deactivate the virtual environment and go out from it
deactivate && exit
exit
Odoo11 has been successfully installed, it’s time to create a configuration file.
nano /opt/odoo11.conf
[options]
; This is the password that allows database operations:
admin_passwd = Mod1fyth15
db_host = False
db_port = False
db_user = odoo
db_password = False
addons_path = /opt/odoo/odoo11/addons
You can specify your master password in admin_password in /opt/odoo11.conf file.
Create Odoo systemd file
nano /etc/systemd/system/odoo11.service
[Unit]
Description=Odoo11
Requires=postgresql.service
After=network.target postgresql.service

[Service]
Type=simple
SyslogIdentifier=odoo11
PermissionsStartOnly=true
User=odoo
Group=odoo
ExecStart=/usr/bin/scl enable rh-python35 -- /opt/odoo/odoo11-venv/bin/python3 /opt/odoo/odoo11/odoo-bin -c /opt/odoo11.conf
StandardOutput=journal+console

[Install]
WantedBy=multi-user.target
systemctl daemon-reload
systemctl start odoo11
systemctl enable odoo11
We can check the status of Odoo
[root@rose /]# systemctl status odoo11
● odoo11.service - Odoo
Loaded: loaded (/etc/systemd/system/odoo11.service; disabled; vendor preset: disabled)
Active: active (running) since Fri 2018-08-10 20:10:35 CDT; 4s ago
Main PID: 13085 (scl)
CGroup: /system.slice/odoo11.service
├─13085 /usr/bin/scl enable rh-python35 -- /opt/odoo/odoo11-venv/bin/python3 /opt/odoo/odoo11/odoo-bin -c /opt/odoo11.conf
├─13086 /bin/bash /var/tmp/scl2im0eB
└─13089 /opt/odoo/odoo11-venv/bin/python3 /opt/odoo/odoo11/odoo-bin -c /opt/odoo11.conf

Step 7:
Install Nginx web server and configure reverse proxy
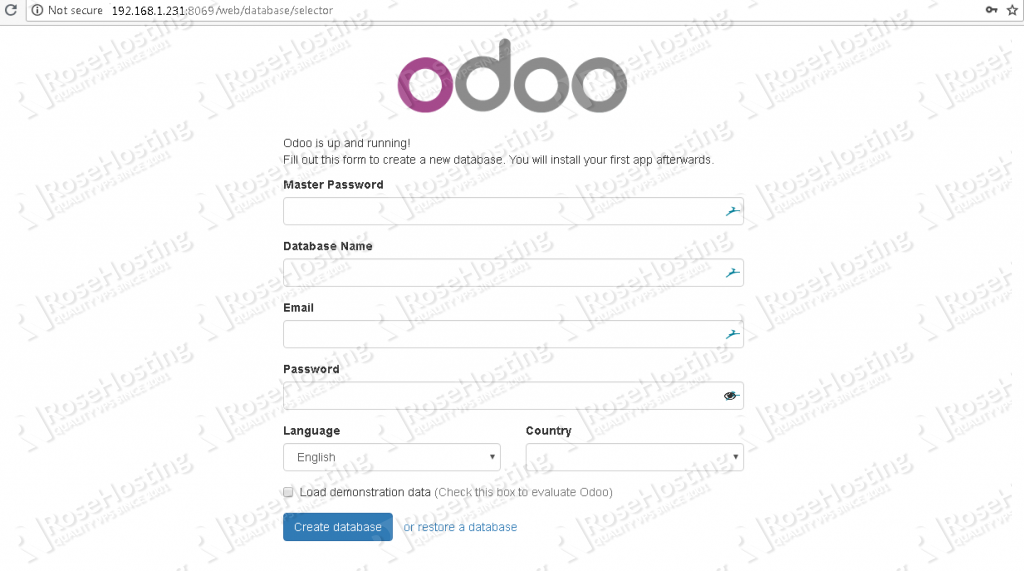
Now, Odoo 11 has been successfully installed on port 8069.
To access it using your domain name and without the port number in your web browser, we need to configure nginx as a reverse proxy.
If you have apache installed, let’s uninstall or disable it then install nginx to proceed
systemctl disable httpd
systemctl stop httpd
yum install nginx
Enable nginx to start on boot
systemctl enable nginx
Create an nginx configuration file.
nano /etc/httpd/conf.d/yourdomain.com.conf
upstream odoo11 {
server 127.0.0.1:8069;
}

server {
listen 80 default;
server_name yourdomain.com;

access_log /var/log/nginx/yourdomain.com.access.log;
error_log /var/log/nginx/yourdomain.com.error.log;

proxy_buffers 16 64k;
proxy_buffer_size 128k;

location / {
proxy_pass http://odoo11;
proxy_next_upstream error timeout invalid_header http_500 http_502 http_503 http_504;
proxy_redirect off;

proxy_set_header Host $host;
proxy_set_header X-Real-IP $remote_addr;
proxy_set_header X-Forwarded-For $proxy_add_x_forwarded_for;
proxy_set_header X-Forwarded-Proto https;
}

location ~* /web/static/ {
proxy_cache_valid 200 60m;
proxy_buffering on;
expires 864000;
proxy_pass http://odoo11;
}
}
Check nginx configuration and if everything is okay, restart it.
nginx -t
systemctl restart nginx

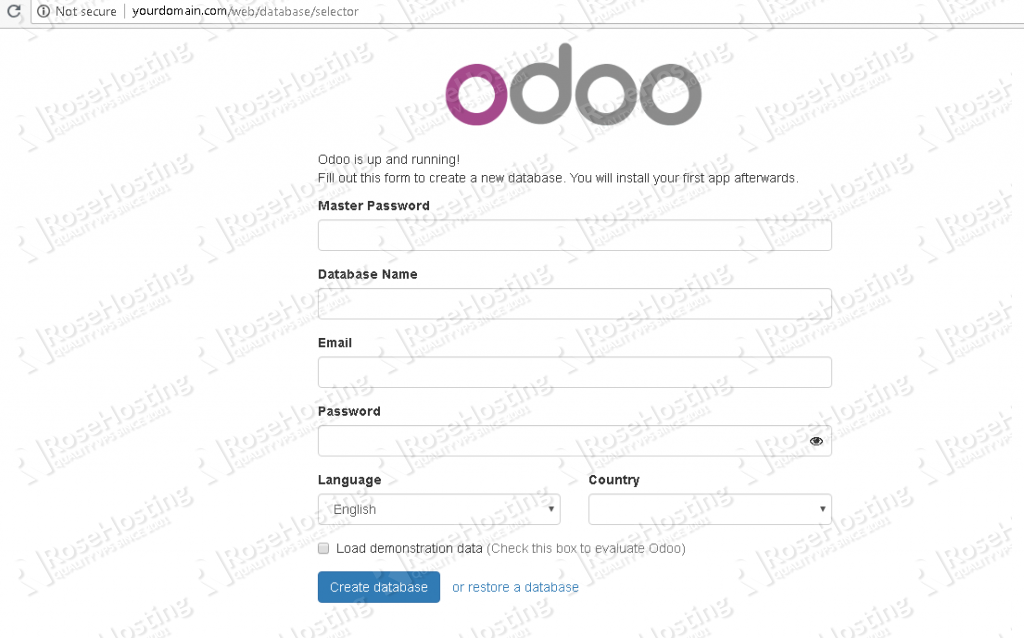
Now you should be able to access Odoo with your domain name at http://yourdomain.com, create your first Odoo database using the master password we set earlier in this tutorial, and start working on your project. For more information about Odoo 11, its features, and configuration, please check their official documentation.
Of course, you don’t have to know how to install Odoo 11 on CentOS 7 with Nginx as a Reverse Proxy if you have an Odoo VPS Hosting with us. You can simply ask our support team to install Odoo 11 on CentOS 7 for you. They are available 24/7 and will be able to help you with the installation of Odoo 11 on CentOS 7. In case you need to know how to install Odoo 14 on CentOS 8 with Nginx as a reverse proxy, we’ve got a tutorial for that as well.
PS. If you enjoy reading this blog post on How to Install Odoo 11 on CentOS 7 with Nginx as a Reverse Proxy, feel free to share it on social networks using the shortcuts below, or simply leave a comment.
