 phpList is very popular and simple to use open source newsletter system which is designed for the dissemination of information, such as newsletters, news, advertising to list of subscribers. It allows users to add and manage email subscribers, create their own mailing lists and send email newsletters. phpList is written in PHP and uses a MySQL database to store the information. It is readily available and fairly easy to install on any Linux VPS system.
In this article we will guide you through the installation of phpList on a CentOS 7 VPS.
REQUIREMENTS
We will be using our SSD 1 Linux VPS Hosting plan for this tutorial.
UPDATE THE SYSTEM
As always, make sure your server is fully up-to-date with the command below:
# yum update
INSTALL LAMP
Your first step is to install Linux Apache, MariaDB & PHP or better known by LAMP. LAMP is actually an acronym for a web services solution stack consisting of Linux, the Apache HTTP Server, the MySQL or MariaDB database engines, and the PHP, Perl or Python programming language. Issue the following:
# yum install httpd openssl mod_ssl mariadb mariadb-server mysql unzip
After the LAMP installation is complete, enable Apache and MariaDB to start on boot and start them with the below commands:
# systemctl enable mariadb && systemctl enable httpd
# systemctl start httpd && systemctl start mariadb
For further configuration tweaks on Apache, PHP and MariaDB, check our excellent blog post.
Next run the MariaDB post-installation script mysql_secure_installation:
# mysql_secure_installation
Configure it like this:
- Set root password? [Y/n] y
- Remove anonymous users? [Y/n] y
- Disallow root login remotely? [Y/n] y
- Remove test database and access to it? [Y/n] y
- Reload privilege tables now? [Y/n] y
Now that you have an active LAMP stack installed you need to create a database for phpList. Enter MariaDB as root:
# mysql -u root -p

MariaDB > create database phplist;

MariaDB > grant all privileges on phplist.* to phplistuser@localhost identified by 'your_password';

MariaDB > flush privileges;

MariaDB > exit
Bye
INSTALL PHPLIST
We will download the phpList installation into the /opt directory, unpack it, move it to Apache’s document root and set the correct ownership with the commands below:
# cd /opt

# wget -O phplist-3.0.12.zip http://prdownloads.sourceforge.net/phplist/phplist-3.0.12.zip?download

# unzip phplist-3.0.12.zip

# mv phplist-3.0.12/public_html/lists/ /var/www/html/

# cd /var/www/html/

# chown -R apache: lists/
Now, our next move is to modify the phpList config file and enter the new database values:
# vim lists/config/config.php

$database_host = "localhost";
$database_name = "phplist";
$database_user = "phplistuser";
$database_password = 'your_password';
While you are still editing the configuration file, change the value of the ‘TEST’ variable from 1 to 0 in order to disable the test mode.
define ("TEST",0);
Install a much needed PHP extension to avoid a known blank page issue when accessing a phpList installation procedure for the first time:
# yum install php-mbstring
Restart Apache for the changes to take effect:
# service httpd restart
That is it. Now open your favorite browser and navigate to http://your_server_ip/lists/admin to finish the phpList installation. You will be welcomed by the following page:
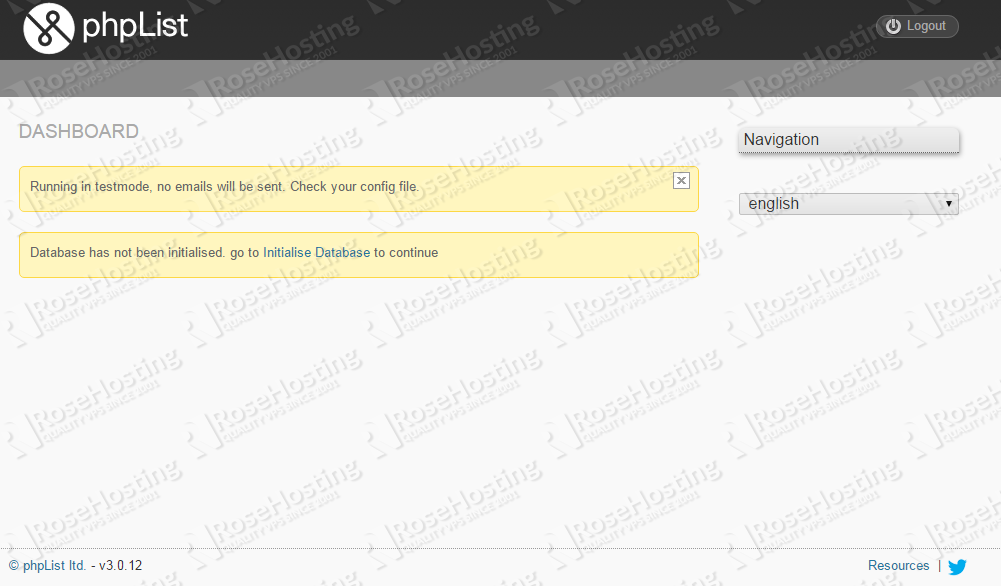
Initialize the database by clicking on Initialise Database. Now complete the configuration according to your needs.
That’s all. If you followed the steps above phpList is successfully installed on your CentOS 7 VPS.
Of course you don’t have to do any of this if you use one of our Linux VPS Hosting services, in which case you can simply ask our expert Linux admins to install phpList for you. They are available 24×7 and will take care of your request immediately.
PS. If you liked this post please share it with your friends on the social networks using the buttons on the left or simply leave a reply below. Thanks.
thanks for this great tutorial , it really helps .
you have created a database called phplist in the new configuration file is phplistdb