phpMyAdmin has a long list of handy features such as:
- Intuitive and easy to use a web interface
- Support for almost all MySQL operations
- Import data from CSV and SQL
- Export data to different formats such as CSV, SQL, XML, PDF, ISO/IEC 26300 – OpenDocument Text and Spreadsheet, Word, LATEX, and others
- Easily administer multiple MySQL servers from a single phpMyAdmin installation
- Creating graphics of your database layout in various formats
- Creating complex queries using Query-by-example (QBE)
- Searching globally in a database or a subset of it
- Transforming stored data into any format using a set of predefined functions, like displaying BLOB-data as image or download-link
- And many more…
Table of Contents
1. Requirements
In order to run phpMyAdmin on your CentOS 7 VPS you need the following requirements preinstalled
– Web server: Apache, Nginx or IIS
– PHP version 5.3.0 or newer, with session support, the Standard PHP Library (SPL) extension, JSON support, and mbstring, zip and GD2 extension.
– MySQL or MariaDB database server version 5.5 or newer
– CentOS 7 VPS with root access enabled
2. Login via SSH
Login to your CentOS 7 VPS via ssh as user root
ssh roo@IP_Address -p Port_number
3. Update all packages
Once you are logged in to the server run the following command to make sure that all installed packages are up to date
yum -y update
4. Install LAMP stack
As mention in the requirements section of the tutorial, a LAMP stack (Apache, MySQL/MariaDB and PHP) is required to run phpMyAdmin no the server. We will start with installing Apache web server
yum -y install httpd
After the installation is completed, start the web server and enable it to start upon server boot
systemctl enable httpd
Next, install PHP along with the required PHP extensions
yum -y install php php-common php-mbstring php-gd
And finally, complete the LAMP installation by installing MariaDB database server
yum -y install mariadb mariadb-server
Start the service and set it to start on reboot
systemctl start mariadb
systemctl enable mariadb
Run the ‘mysql_secure_installation’ post-installation script provided by MariaDB to strengthen the security of the database server and set a root password. You can use the following options:
Set root password? [Y/n] Y
Remove anonymous users? [Y/n] Y
Disallow root login remotely? [Y/n] Y
Remove test database and access to it? [Y/n] Y
Reload privilege tables now? [Y/n] Y
5. Install phpMyAdmin
phpMyAdmin is not available in the official CentOS 7 repositories, so we will have to enable the EPEL repository by executing the following command
yum -y install epel-release
Once the EPEL repository is enabled we can proceed with the phpMyAdmin installation
yum -y install phpmyadmin
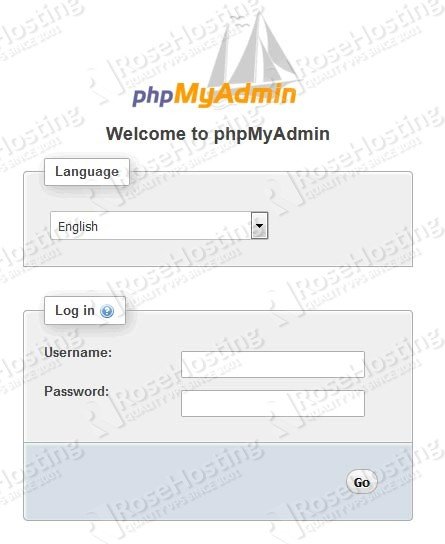
The package manager will install phpMyAdmin and all necessary dependencies and the installation of phpMyAdmin is completed. You can now access the application and start working on your databases at http://IP_Address/phpmyadmin .
By default, phpMyAdmin is only accessible from the localhost. If you want it to be accessible from everywhere or a certain IP address, open its included Apache configuration file and add/edit the following lines accordingly:
nano /etc/httpd/conf.d/phpMyAdmin.conf


     # Apache 2.4

      Require ip IP_Address
      Require ip 127.0.0.1
      Require ip ::1


     # Apache 2.2
     Order Deny,Allow
     Deny from All
     Allow from IP_Address
     Allow from 127.0.0.1
     Allow from ::1
Where IP_Address is the actual IP address.
6. Restart Apache web server
Save the changes and restart the Apache web server for the changes to take effect.
systemctl restart httpd
For more information on how to configure and use phpMyAdmin please check their official documentation at https://www.phpmyadmin.net/docs/

PS. If you liked this post, on how to install phpMyAdmin on Ubuntu 16.04, please share it with your friends on the social networks using the buttons below or simply leave a comment in the comments section. Thanks.


I was constantly searching for how to install phpMyadmin properly to my CentOS machine and tried different method, but your method worked perfectly and let me login to myphpadmin with an instant.
Thank you!
you have missed install in command yum -y mariadb mariadb-server
The tutorial has been updated. Thanks.