In this tutorial, we will show you how to install RainLoop on a Debian 9 VPS. The tutorial will go over the required prerequisites, the installation of RainLoop, as well as the configuration of RainLoop itself. RainLoop is easy-to-install and set up, making it a quick installation. The installation process should take about 10 minutes if you follow the very easy steps described below.

Table of Contents
Prerequisites
- For the purposes of this tutorial, we will use a Debian Server.
- Apache, nginx, lighttpd or any other web server with PHP support.
- PHP 5.4 or higher (PHP 7 or higher is preferred) with the following PHP extensions enabled: cURL, iconv, json, libxml, dom, openssl, DateTime, PCRE and SPL. Optionally, we can install PDO and (MySQL/PostgreSQL/SQLite) PHP extension (for contacts).
- Full SSH root access or a user with sudo privileges is also required.
Step 1: Connect via SSH
Connect to your server via SSH as the root user using the following command:
ssh root@IP_ADDRESS -p PORT_NUMBER
Remember to replace “IP_ADDRESS” and “PORT_NUMBER” with your actual server IP address and SSH port number.
Before starting with the installation, we need to update the OS packages to their latest versions.
We can do this by running the following commands:
apt-get update
apt-get upgrade
Once the upgrade is complete, we can move on to the next step.
Step 2: Install Nginx
We can install Nginx from the Debian package repository.
Stop the Apache2 service, and remove the package from your system:
sudo service apache2 stop
sudo apt-get remove apache2
sudo apt-get autoremove
Run the following commands to install Nginx on the server:
sudo apt-get update
sudo apt-get install nginx
Enable Nginx to start on server boot:
systemctl enable nginx
Step 3: Install PHP and PHP extensions Required by RainLoop
For RainLoop, we’ll be installing PHP 7.0. With this command, we will install PHP 7.0 as well as download and install all of the required PHP extensions:
sudo apt-get install php7.0 php7.0-common php7.0-curl php7.0-xml php7.0-fpm php7.0-json php7.0-dev php7.0-mysql
Open the /etc/php/7.0/fpm/pool.d/www.conf configuration file and make sure that ‘listen = /run/php/php7.0-fpm.sock’ is not commented out.
Step 4: Create Nginx server block
Create a new Nginx server block for the domain/subdomain name that we will be using to access the RainLoop webmail application. For this tutorial, we will be using ‘webmail.domain.com‘.
nano /etc/nginx/sites-available/rainloop.conf
server {
  listen 80;

  server_name webmail.domain.com;
  root /var/www;

  index index.php;

  access_log /var/log/nginx/rainloop_access.log;
  error_log /var/log/nginx/rainloop_error.log;

  location / {
    try_files $uri $uri/ /index.php?$query_string;
  }

  location ~ \.php$ {
    fastcgi_index index.php;
    fastcgi_split_path_info ^(.+\.php)(.*)$;
    fastcgi_keep_conn on;
    fastcgi_pass unix:/var/run/php/php7.0-fpm.sock;
    include /etc/nginx/fastcgi_params;
    fastcgi_param SCRIPT_FILENAME $document_root$fastcgi_script_name;
  }
  location ~ /\.ht {
    deny all;
  }

  location ^~ /data {
    deny all;
  }
}
Do not forget to replace webmail.domain.com with your actual domain/subdomain name. Save and close the file. To enable the server block in Nginx, you need to create a symbolic link to the sites-enabled directory. Use the following command to create a symbolic link:
sudo ln -s /etc/nginx/sites-available/rainloop.conf /etc/nginx/sites-enabled/rainloop.conf
Check if there are errors with the newly created Nginx configuration:
sudo nginx -t
nginx: the configuration file /etc/nginx/nginx.conf syntax is ok
nginx: configuration file /etc/nginx/nginx.conf test is successful
If the syntax is OK and there are no errors, we can restart Nginx.
sudo systemctl restart nginx.service
Step 5: Install RainLoop on Debian 9
In order to get the latest stable version of RainLoop, we will download it from the official website. There are two RainLoop webmail editions available for download: Community Edition (under the AGPL v3 license) and Standard Edition (under the RainLoop software license). For the purposes of this tutorial, we will download and install the free and open-source Community Edition.
To download the latest RainLoop Webmail community version, run the following commands:
cd /opt
wget http://www.rainloop.net/repository/webmail/rainloop-community-latest.zip
Run the command below to extract the RainLoop community edition in the /var/www/ directory on your server:
unzip rainloop-community-latest.zip -d /var/www/
We need to change the permissions of RainLoop files located in the/var/www/ directory:
chown www-data: -R /var/www/

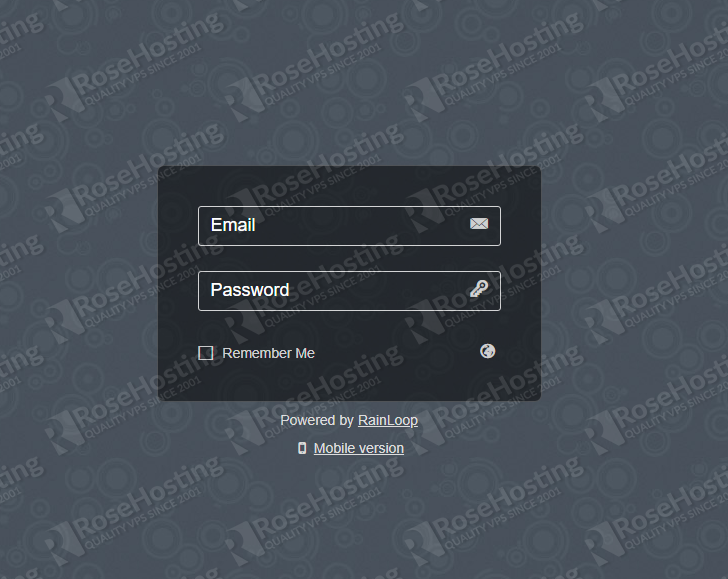
Open your favorite web browser and navigate to http://webmail.domain.com. If you see the following page:
It means that RainLoop has been successfully installed.
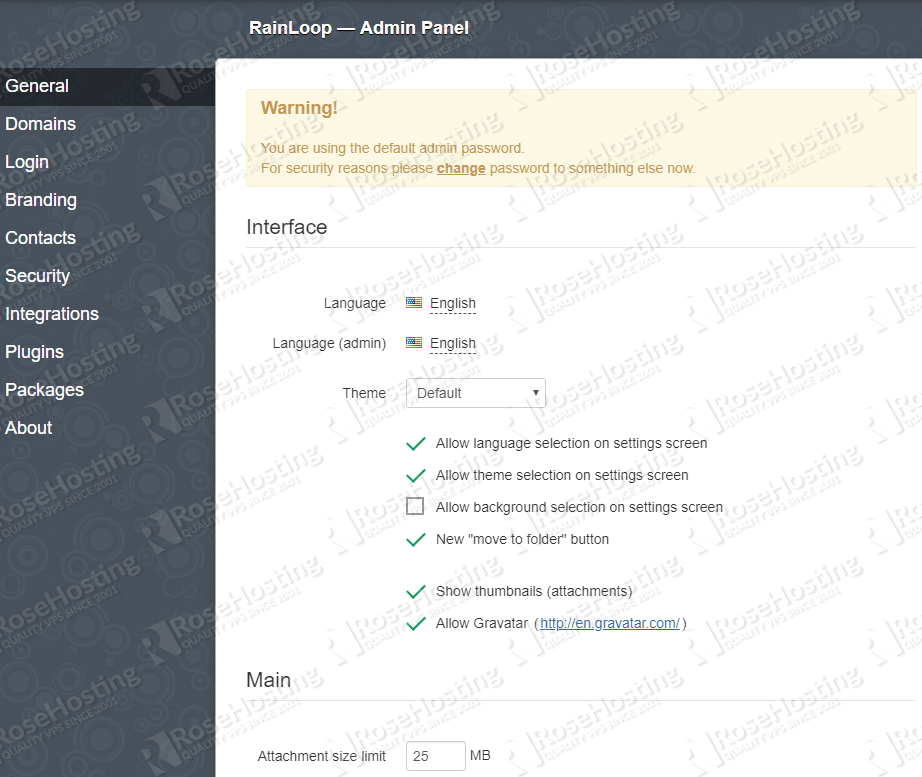
Open your web browser and enter http://webmail.domain.com/?admin (replace the ‘webmail.domain.com’ subdomain name with the actual domain/subdomain name you used in the web server configuration).
The default admin login credentials are:
Username: admin
Password: 12345

Once logged in, reset the admin user password. Make sure to use a strong password.
That is it – the RainLoop installation is now complete.
Open your browser and enter http://webmail.domain.com/?admin#/packages. On this page, there are many RainLoop plugins available to be installed, such plugins that allow you to change the email account password, blacklist or whitelist email addresses, and so on.

PS. If you liked this post on how to install RainLoop on a Debian 9 VPS, please share it with your friends on the social networks using the share shortcuts below, or simply leave a comment in the comments section. Thanks.
