WordPress is a free, open-source and one of the best content management systems around the world. It is based on PHP and uses MySQL/MariaDB as a database backend. It provides a simple and easier way to create a simple to advanced blog or website. It provides a web-based frontend to create and manage a website.
In this post, we will show you how to install WordPress on AlmaLinux 8.
Table of Contents
Prerequisites
- An AlmaLinux 8 VPS (we’ll be using our SSD 2 VPS plan)
- Access to the root user account (or access to an admin account with root privileges)
Log in to the Server & Update the Server OS Packages
First, log in to your AlmaLinux 8 server via SSH as the root user:
ssh root@IP_Address -p Port_number
You will need to replace ‘IP_Address’ and ‘Port_number’ with your server’s respective IP address and SSH port number. Additionally, replace ‘root’ with the username of the admin account if necessary.
Before starting, you have to make sure that all AlmaLinux OS packages installed on the server are up to date. You can do this by running the following commands:
dnf update -y
Next, verify the current version of your operating system using the following command:
cat /etc/os-release
You should get the following output:
NAME="AlmaLinux"
VERSION="8.4 (Electric Cheetah)"
ID="almalinux"
ID_LIKE="rhel centos fedora"
VERSION_ID="8.4"
PLATFORM_ID="platform:el8"
PRETTY_NAME="AlmaLinux 8.4 (Electric Cheetah)"
ANSI_COLOR="0;34"
CPE_NAME="cpe:/o:almalinux:almalinux:8.4:GA"
HOME_URL="https://almalinux.org/"
DOCUMENTATION_URL="https://wiki.almalinux.org/"
BUG_REPORT_URL="https://bugs.almalinux.org/"
ALMALINUX_MANTISBT_PROJECT="AlmaLinux-8"
ALMALINUX_MANTISBT_PROJECT_VERSION="8.4"
Install LAMP Server
First, install the Apache web server, MariaDB server, PHP and other packages using the following command:
dnf install httpd httpd-tools mariadb-server php php-json php-mysqlnd php-json php-curl unzip -y
After installing all packages, start the Apache and MariaDB service and enable them to start at system reboot:
systemctl start httpd
systemctl enable httpd
systemctl start mariadb
systemctl enable mariadb
Create a WordPress Database
Next, you will need to create a database and user for WordPress.
First, log in to MariaDB with the following command:
mysql
Once you log in, create a database and user with the following command:
MariaDB [(none)]> CREATE DATABASE wpdb;
MariaDB [(none)]> CREATE USER 'wpuser'@'localhost' IDENTIFIED BY 'password';
Next, grant all the privileges to WordPress database with the following command:
MariaDB [(none)]> GRANT ALL ON wpdb.* TO 'wpuser'@'localhost' IDENTIFIED BY 'password' WITH GRANT OPTION;
Next, flush the privileges and exit from the MariaDB with the following command:
MariaDB [(none)]> FLUSH PRIVILEGES;
MariaDB [(none)]> EXIT;
Install WordPress
First, change the directory to the Apache web root and download the latest version of WordPress with the following command:
cd /var/www/html
wget https://wordpress.org/latest.tar.gz
After downloading WordPress, extract the downloaded file with the following command:
tar -xvzf latest.tar.gz
Next, change the directory to WordPress and rename the sample config file:
cd wordpress
mv wp-config-sample.php wp-config.php
Next, edit the sample config file and define your database settings:
nano wp-config.php
Change the following values:
define( 'DB_NAME', 'wpdb' );

/** MySQL database username */
define( 'DB_USER', 'wpuser' );

/** MySQL database password */
define( 'DB_PASSWORD', 'password' );

/** MySQL hostname */
define( 'DB_HOST', 'localhost' );
Save the file then set proper ownership to the WordPress directory:
chown -R apache:apache /var/www/html/wordpress
Configure Apache for WordPress
Next, create an Apache virtual host configuration file for WordPress:
nano /etc/httpd/conf.d/wp.conf
Add the following lines:
<VirtualHost *:80>
   ServerAdmin webmaster@example.com
   DocumentRoot "/var/www/html/wordpress"
   ServerName wp.example.com
   ErrorLog "/var/log/httpd/example.com-error_log"
   CustomLog "/var/log/httpd/example.com-access_log" combined

<Directory "/var/www/html/wordpress">
   DirectoryIndex index.html index.php
   Options FollowSymLinks
   AllowOverride All
   Require all granted
</Directory>
</VirtualHost>
Save the file then restart the Apache to apply the changes:
systemctl restart httpd
Configure Firewall
Next, you will need to allow ports 80 and 443 through the firewall. You can allow them with the following command:
firewall-cmd --permanent --zone=public --add-service=http
firewall-cmd --permanent --zone=public --add-service=https
Next, reload the firewall to apply the changes:
firewall-cmd --reload
Access WordPress Installation Wizard
Now, you can access the WordPress installation wizard using the URL http://wp.example.com. You will be redirected to the following page:
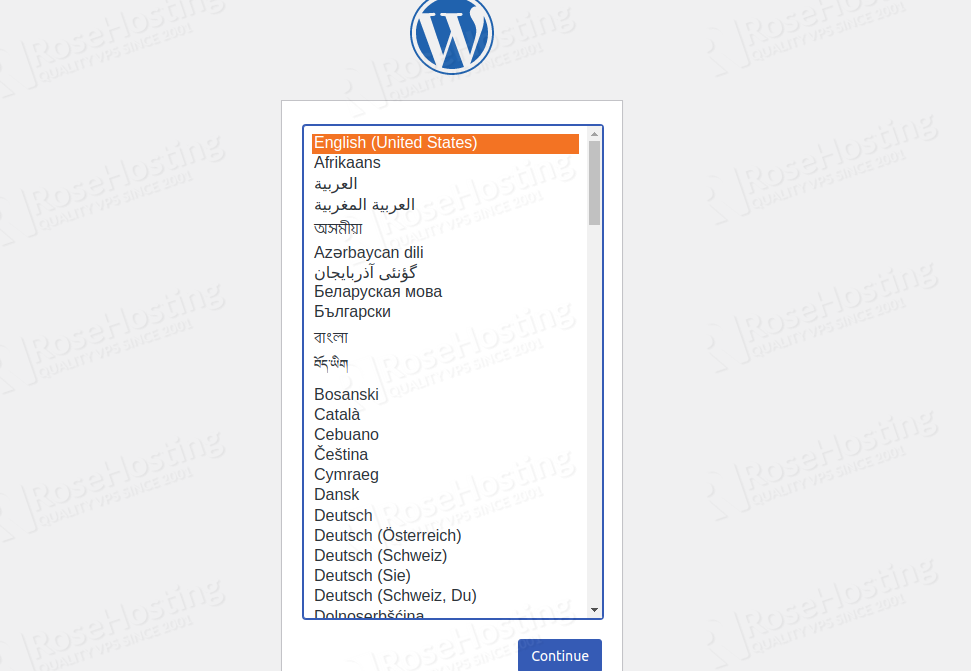
Select your Language and click on the Continue button. You should see the following page:
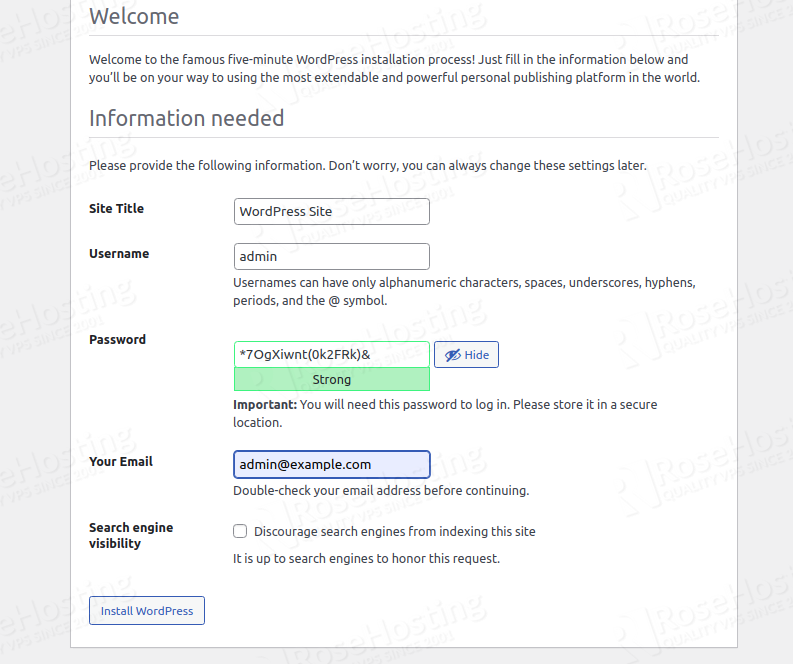
Provide your Site name, admin username, password, and click on the Install WordPress button. Once the installation is completed, you should see the following page:
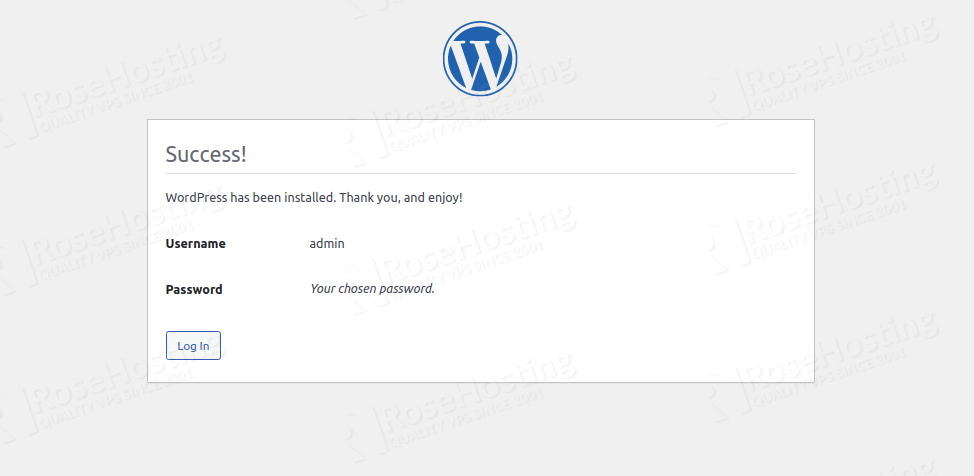
Click on the Login button. You will be redirected to the WordPress admin login page:
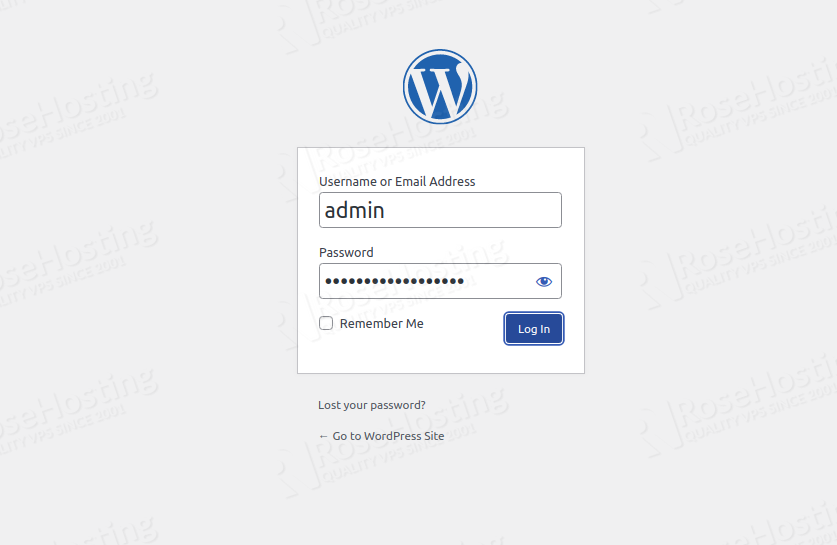
Provide your admin username, password and click on the login button. You should see the WordPress dashboard on the following page:
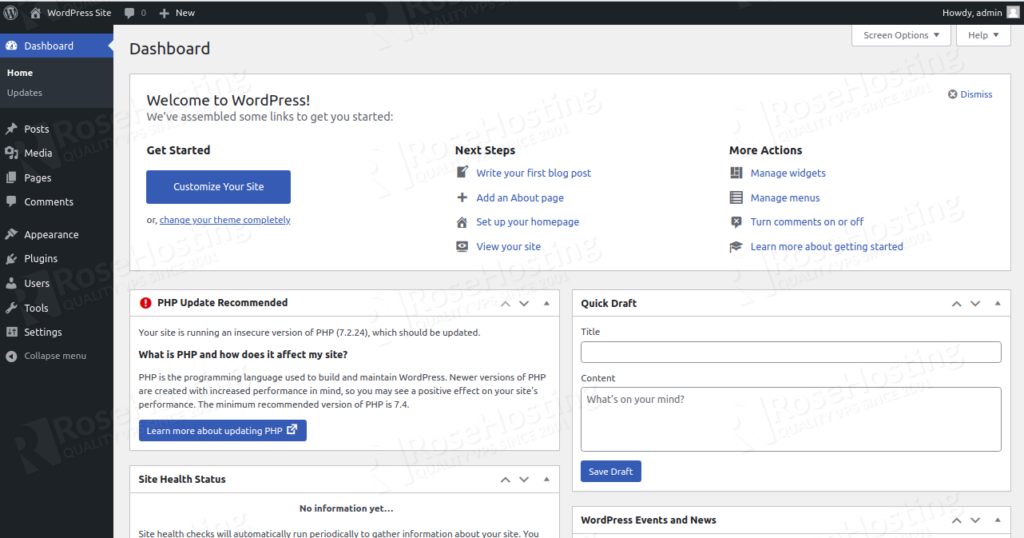
Congratulations! You have successfully installed WordPress on AlmaLinux 8.
Of course, you don’t have to install WordPress if you use one of our Managed Hosting services, in which case you can simply ask our expert Linux admins to install WordPress on AlmaLinux 8, for you. They are available 24×7 and will take care of your request immediately.
PS. If you liked this post on how to install WordPress on AlmaLinux 8, please share it with your friends on the social networks using the buttons on the left or simply leave a reply below. Thanks.