This tutorial is about installing WordPress with the LEMP stack on Ubuntu 24.04. WordPress is an open-source content management system written in PHP. The LEMP stack is a shortcut for Linux, NGINX, MySQL, and PHP. WordPress is very user-friendly and offers a variety of options, such as different plugins and various themes with beautiful designs, making it the most customizable CMS for users. The following paragraphs will cover all the steps for LEMP installation before we install WordPress.
Installing WordPress with the LEMP stack on Ubuntu 24.04 is straightforward and may take up to 15 minutes. Let’s get things done!
Table of Contents
Prerequisites
- An Ubuntu 24.04 server
- User privileges: root or non-root user with sudo privileges
Step 1. Update the System
Before we start with the installation, we will update the system packages to their latest versions available:
sudo apt update -y && sudo apt upgrade -y
Step 2. Install LEMP stack
First of all we will start with the Nginx web server. To install the Nginx web server, execute the following command:
sudo apt install nginx -y
Once installed, start and enable the Nginx service:
sudo systemctl start nginx && sudo systemctl enable nginx
To check the status of the service, you can execute the command below:
sudo systemctl status nginx
You should receive the following output:
root@host:/var/www/html# sudo systemctl status nginx
● nginx.service - A high performance web server and a reverse proxy server
     Loaded: loaded (/usr/lib/systemd/system/nginx.service; enabled; preset: enabled)
     Active: active (running) since Tue 2024-12-03 09:17:30 CST; 1min 39s ago
       Docs: man:nginx(8)
   Main PID: 372371 (nginx)
      Tasks: 4 (limit: 4613)
     Memory: 3.0M (peak: 3.6M)
        CPU: 42ms
     CGroup: /system.slice/nginx.service
             ├─372371 "nginx: master process /usr/sbin/nginx -g daemon on; master_process on;"
             ├─372372 "nginx: worker process"
             ├─372373 "nginx: worker process"
             └─372374 "nginx: worker process"

Dec 03 09:17:30 host.test.vps systemd[1]: Starting nginx.service - A high performance web server and a reverse proxy server...
Dec 03 09:17:30 host.test.vps systemd[1]: Started nginx.service - A high performance web server and a reverse proxy server.
Nex of the LEMP stack will be the MySQL database service. To install MySQL on Ubuntu 24.04, execute the command below:
sudo apt install mysql-server -y
Once installed, start and enable the MySQL service:
sudo systemctl start mysql && sudo systemctl enable mysql
To check the status of the service, you can execute the command below:
sudo systemctl status mysql
You should receive the following output:
root@host:/var/www/html# sudo systemctl status mysql
● mysql.service - MySQL Community Server
     Loaded: loaded (/usr/lib/systemd/system/mysql.service; enabled; preset: enabled)
     Active: active (running) since Tue 2024-12-03 09:35:04 CST; 5s ago
    Process: 373238 ExecStartPre=/usr/share/mysql/mysql-systemd-start pre (code=exited, status=0/SUCCESS)
   Main PID: 373246 (mysqld)
     Status: "Server is operational"
      Tasks: 38 (limit: 4613)
     Memory: 369.7M (peak: 383.7M)
        CPU: 8.204s
     CGroup: /system.slice/mysql.service
             └─373246 /usr/sbin/mysqld
The last of the LEMP stack is PHP 8.3, along with its extensions. To install PHP8.3 with the extensions, execute the command below:
sudo apt install php8.3-{mysql,curl,imagick,mbstring,xml,zip,fpm} -y
Once installed, check the PHP version with the following command:
php -v
You should get output similar to this:
root@host:/var/www/html# php -v
PHP 8.3.6 (cli) (built: Sep 30 2024 15:17:17) (NTS)
Copyright (c) The PHP Group
Zend Engine v4.3.6, Copyright (c) Zend Technologies
    with Zend OPcache v8.3.6, Copyright (c), by Zend Technologies
Step 3. Create a WordPress database and user
To create a WordPress database and user, you should execute the following commands one by one in the MySQL terminal:
CREATE DATABASE wpdatabase;
CREATE USER 'wpuser'@'localhost' IDENTIFIED BY 'StrongPasswordHere';
GRANT ALL ON wpdatabase.* TO 'wpuser'@'localhost' WITH GRANT OPTION;
FLUSH PRIVILEGES;
EXIT;
Step 4. Download and Install WordPress
Since the LEMP stack is installed and the database is created, we can download and install WordPress. To do that, execute the following command:
cd /var/www/html && wget https://wordpress.org/latest.zip

unzip latest.zip -d /var/www/html
Set the correct permissions to files and folders:
chown -R www-data:www-data /var/www/html/wordpress/

cd /var/www/html/wordpress/

find . -type d -exec chmod 755 {} \;

find . -type f -exec chmod 644 {} \;
Next, we need to configure the WordPress wp-config.php file according to the credentials in Step 3. Open the wp-config.php file with your favorite editor and make the changes to look like this:
First, we will rename it:
cd /var/www/html/wordpress

mv wp-config-sample.php wp-config.php
Next, we will open it with the editor.
// ** Database settings - You can get this info from your web host ** //
/** The name of the database for WordPress */
define( 'DB_NAME', 'wpdatabase' );

/** Database username */
define( 'DB_USER', 'wpuser' );

/** Database password */
define( 'DB_PASSWORD', 'StrongPasswordHere' );
Please save the file and close it.
Step 5. Create Nginx configuration file
We need to create an Nginx configuration file to access our WordPress installation.
touch /etc/nginx/conf.d/wordpress.conf
Open the newly created file and paste the following lines of code:
server {
listen 80;
   server_name YourDomainNameHere;

   root /var/www/html/wordpress;
   index index.php;

   server_tokens off;

   access_log /var/log/nginx/wordpress_access.log;
   error_log /var/log/nginx/wordpress_error.log;

   client_max_body_size 64M;

location / {
   try_files $uri $uri/ /index.php?$args;
}

   location ~ \.php$ {
      fastcgi_pass  unix:/run/php/php8.3-fpm.sock;
      fastcgi_index index.php;
      include fastcgi_params;
      fastcgi_param SCRIPT_FILENAME $document_root$fastcgi_script_name;
      include /etc/nginx/fastcgi.conf;
    }
}
Please save the file and close it.
Next, check the Nginx syntax:
nginx -t
You should receive the following output:
root@host:/var/www/html/wordpress# nginx -t
nginx: the configuration file /etc/nginx/nginx.conf syntax is ok
nginx: configuration file /etc/nginx/nginx.conf test is successful
You can proceed with Nginx restart:
sudo systemctl restart nginx
Step 6. Finish WordPress Installation
The last step of this tutorial is finishing the WordPress installation. To do that, access your WordPress installation at https://YourDomainNameHere
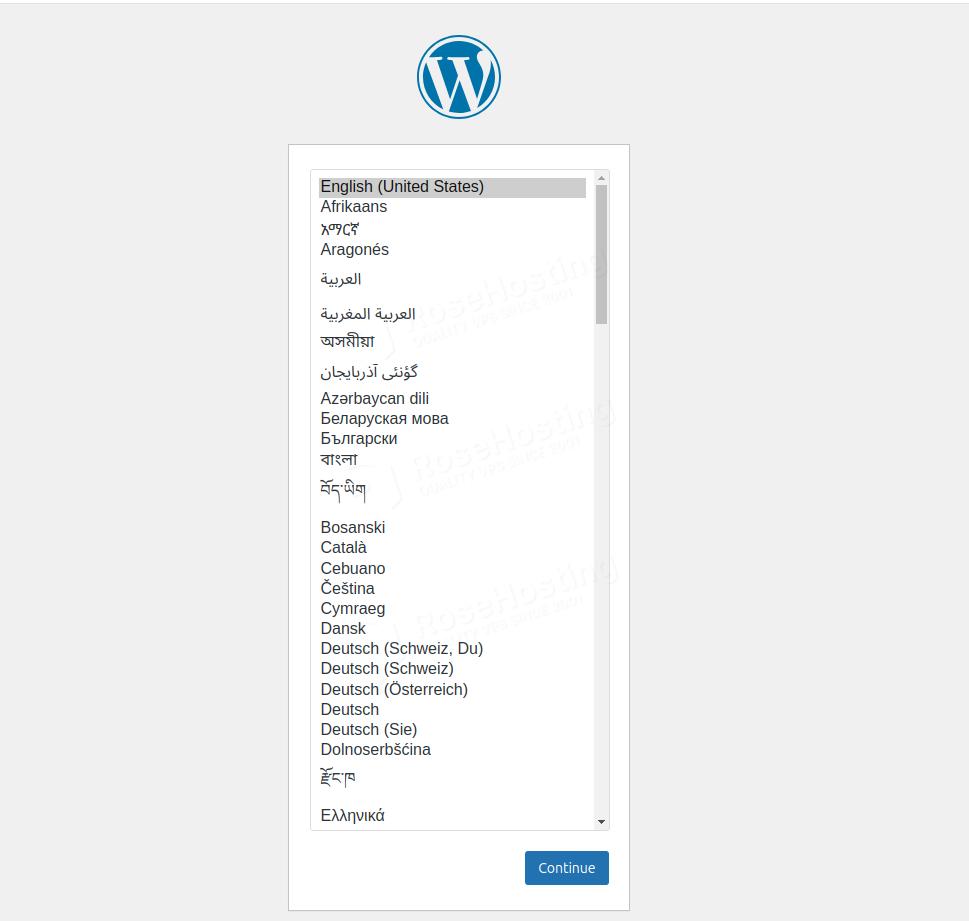
Click on the Continue button, fill in the credentials you want to use for your WordPress installation, and then click on Install WordPress.
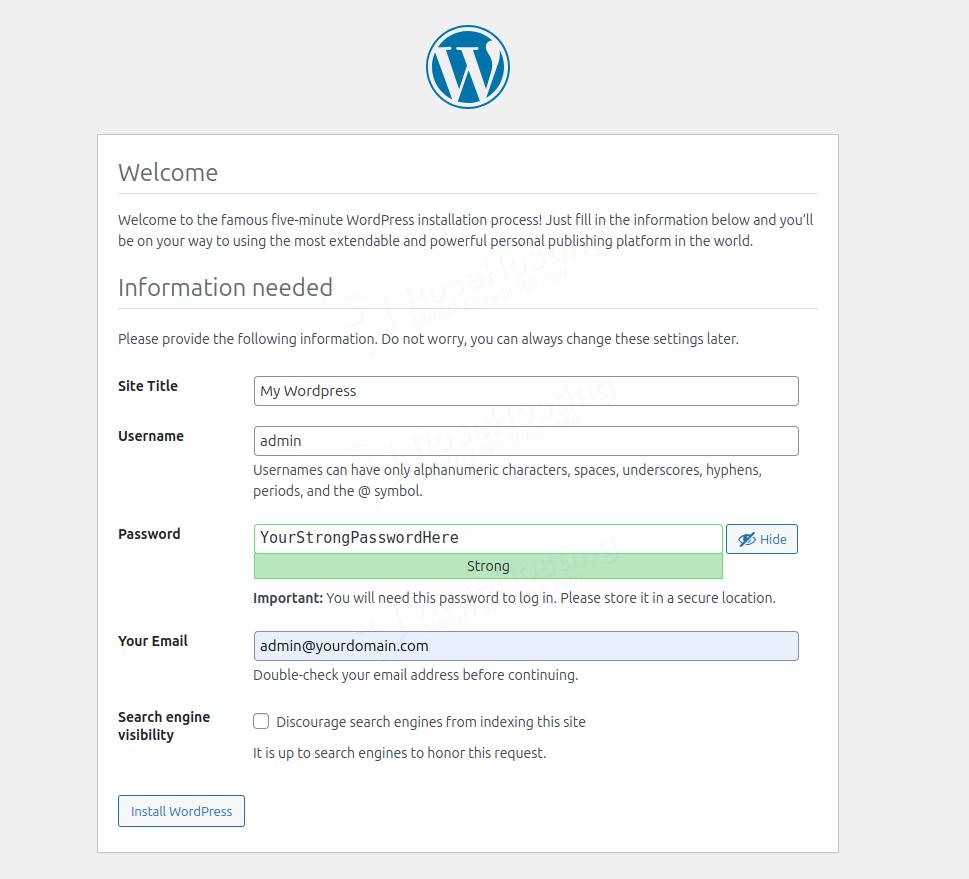
After successful installation, you will receive the following screen:
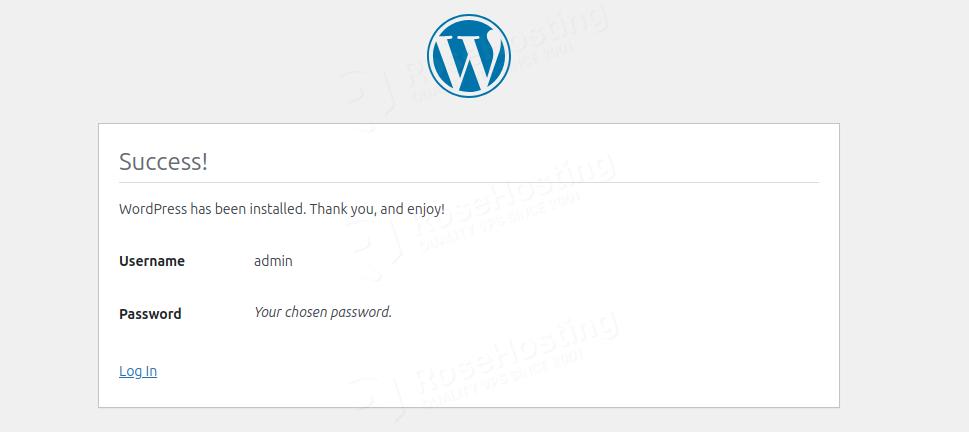
Click on Log in fill in the credentials you set before, and you will be redirected to the following screen:
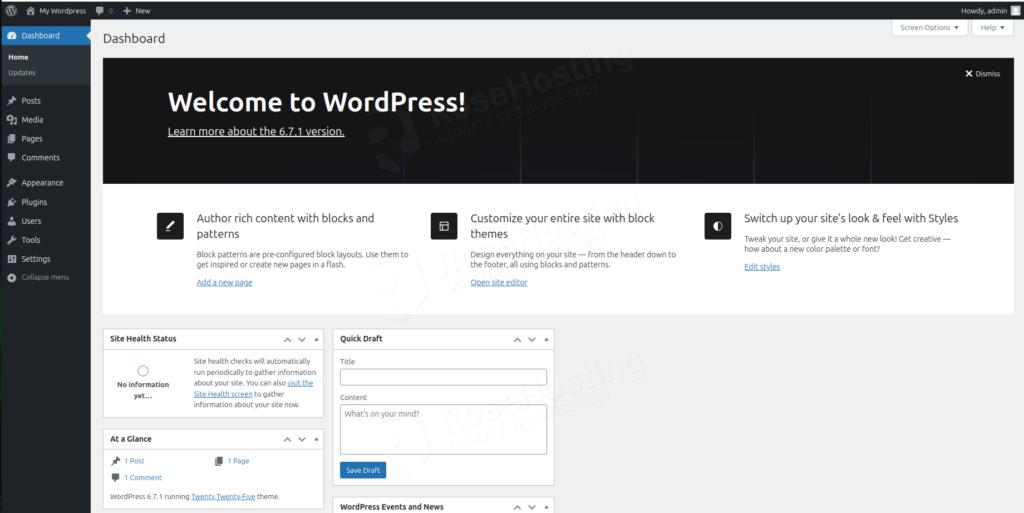
That’s it. You successfully installed the latest WordPress with LEMP stack on Ubuntu 24.04.
Of course, if you have difficulties and are unfamiliar with Linux, you don’t have to install WordPress on Ubuntu 24.04. You can always contact our technical support. You only need to sign up for one of our NVMe VPS plans and submit a support ticket. We are available 24/7 and will take care of your request immediately.
If you liked this post about installing WordPress with LEMP stack on Ubuntu 24.04, please share it with your friends or leave a comment below.