In this tutorial, we will show you how to install and configure WordPress with OpenLiteSpeed on an Ubuntu 18.04 VPS.

Table of Contents
Prerequisites
- For the purposes of this tutorial, we will be using an Ubuntu 18.04 VPS.
- A system user with root privileges, or access to the root user itself.
Step 1: Connect to Your Server
Login to your Ubuntu 18.04 VPS via SSH as the root user (or as the user with root privileges):
ssh root@IP_Address -p Port_Number
Of course, you will need to replace IP_Address and Port_Number with your actual server IP address and SSH port number.
Once logged in, make sure that your server is up-to-date by running the following commands:
sudo apt-get update
sudo apt-get upgrade
Step 2: Download and Install OpenLiteSpeed
The following command will add the necessary repository to your server for the OpenLiteSpeed server installation.
wget -O - http://rpms.litespeedtech.com/debian/enable_lst_debain_repo.sh | bash
Run the following command to install the latest version of the OpenLiteSpeed server.
sudo apt install openlitespeed
Once the installation is complete, you can start the OpenLiteSpeed service:
systemctl start lsws
as well as see the status of the OpenLiteSpeed service using the following command:
systemctl status lsws
Output:
● lsws.service - LSB: lshttpd
Loaded: loaded (/etc/init.d/lsws; generated)
Active: active (exited)
Docs: man:systemd-sysv-generator(8)
Process: 47146 ExecStart=/etc/init.d/lsws start (code=exited, status=0/SUCCESS)
We also recommend enabling OpenLiteSpeed to start on server boot:
systemctl enable lsws
Open your browser and browse to the server IP on port 8088 to view the default page: https://your-ip-address:8088
Step 3: Install and Configure MySQL Server
On Ubuntu 18.04, the latest version of MySQL is included in the APT package repository by default.
In order to install the MySQL server package, run the following command:
apt -y install mysql-server
Once it is installed, start the MySQL service and enable it to automatically start up after the server boots up:
systemctl start mysql
systemctl enable mysql
Once the MySQL installation is complete, issue the following command to improve the security of your MySQL server installation (we recommend answering with ‘Y’ to every prompt):
sudo mysql_secure_installation
To start the process, the command will ask you to enter the current MySQL root password. Just press the [Enter] key once, as there is no default password for MySQL.
Step 4: Create MySQL Database and User
Next, we need to create a MySQL database and user for the WordPress installation.
Login to the MySQL console:
mysql -u root -p

mysql> CREATE DATABASE wordpressdb;
mysql> GRANT ALL PRIVILEGES ON wordpressdb.* TO 'wpuser'@'localhost' IDENTIFIED BY 'PASSWORD' WITH GRANT OPTION;
mysql> FLUSH PRIVILEGES;
mysql> quit
Don’t forget to replace ‘PASSWORD‘ with an actual, strong password.
Step 5: Install PHP and Modules
To install PHP 7.2 along with all the necessary modules for WordPress, run the following command:
sudo apt install lsphp72 lsphp72-curl lsphp72-imap lsphp72-mysql lsphp72-intl lsphp72-pgsql lsphp72-sqlite3 lsphp72-tidy lsphp72-snmp
Step 6: Install WordPress
We will download and place the WordPress installation in the default web server document root directory /usr/local/lsws/Example/html/.
Let’s download the latest WordPress version from the official WordPress site and extract it in the ‘/usr/local/lsws/Example/html/’ directory with the following commands:
cd /usr/local/lsws/Example/html/
wget -c http://wordpress.org/latest.tar.gz
Then, extract the ‘latest.tar.gz’ archive file with:
tar -xzvf latest.tar.gz
The WordPress files will be now placed in the wordpress directory at /usr/local/lsws/Example/html/wordpress
We also need to set the correct permissions of this directory so our OpenLiteSpeed server can access the files in it. To give ownership of the WordPress files to our OpenLiteSpeed server user and group, run the following command:
chown -R nobody:nogroup /usr/local/lsws/Example/html/wordpress
Next, run the following command to create a WordPress configuration file ( wp-config.php ). This is the default configuration file for WordPress.
cd /usr/local/lsws/Example/html/wordpress
mv wp-config-sample.php wp-config.php
Now open the wp-config.php file with your favorite text editor, for example:
nano wp-config.php
Then update the database settings, replacing database_name_here, username_here and password_here with your own details:
// ** MySQL settings - You can get this info from your web host ** //
/** The name of the database for WordPress */
define('DB_NAME', 'database_name_here');

/** MySQL database username */
define('DB_USER', 'username_here');

/** MySQL database password */
define('DB_PASSWORD', 'password_here');

/** MySQL hostname */
define('DB_HOST', 'localhost');

/** Database Charset to use in creating database tables. */
define('DB_CHARSET', 'utf8');

/** The Database Collate type. Don't change this if in doubt. */
define('DB_COLLATE', '');
Save and exit the file.
Step 7: Configure OpenLiteSpeed
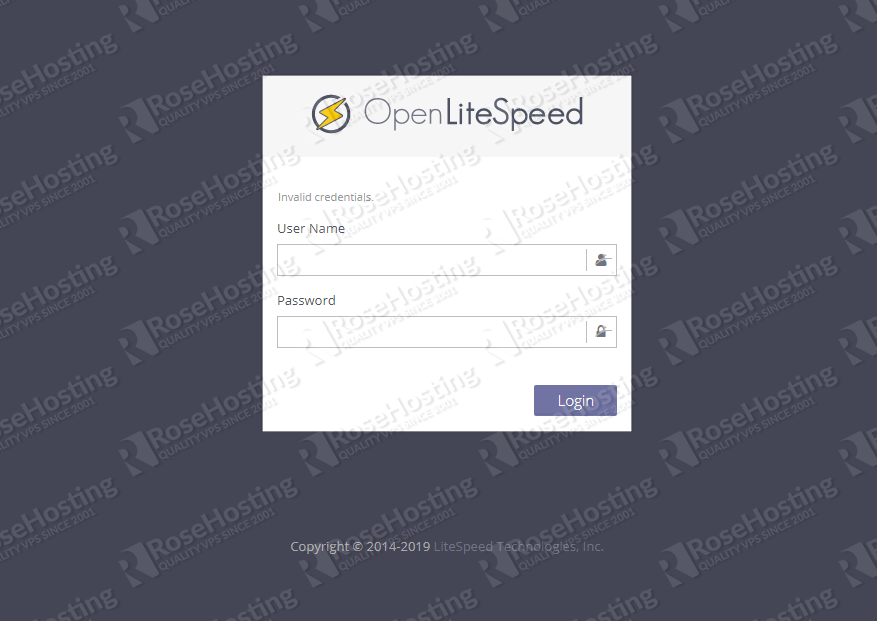
First, open your favorite browser and browse to OpenLiteSpeed back-end portal at: https://your-ip-address:7080
The default username is admin and the default password is 123456
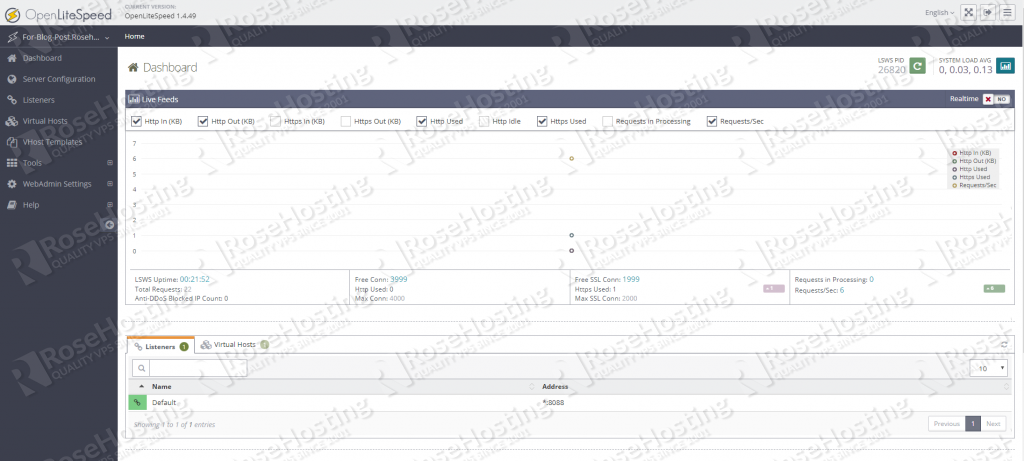
On the next page under Listener Default > General page, click Edit icon on the right and change the port from 8080 to 80.
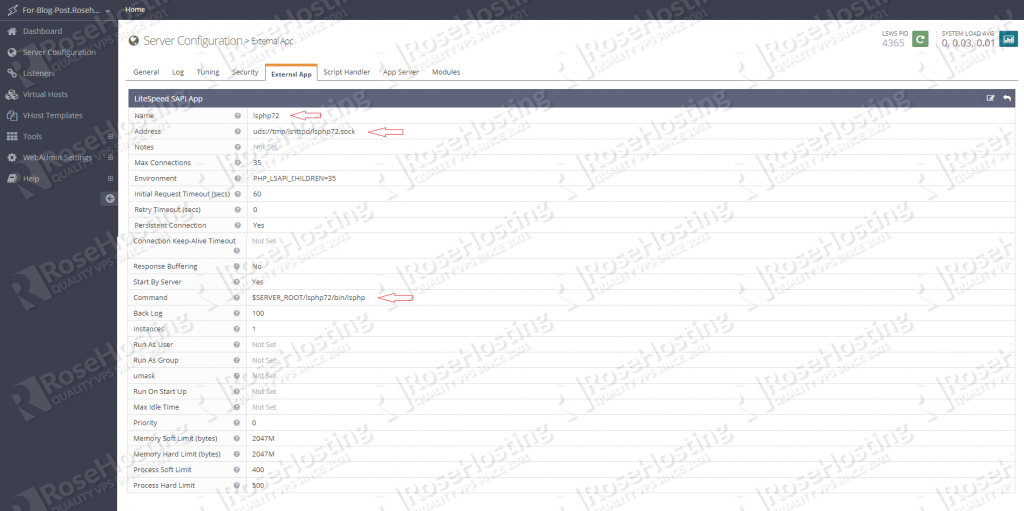
Navigate to Server Configuration > External app and modify:
Name:lsphp72
Address: uds://tmp/lshttpd/lsphp72.sock
Command: $SERVER_ROOT/lsphp72/bin/lsphp
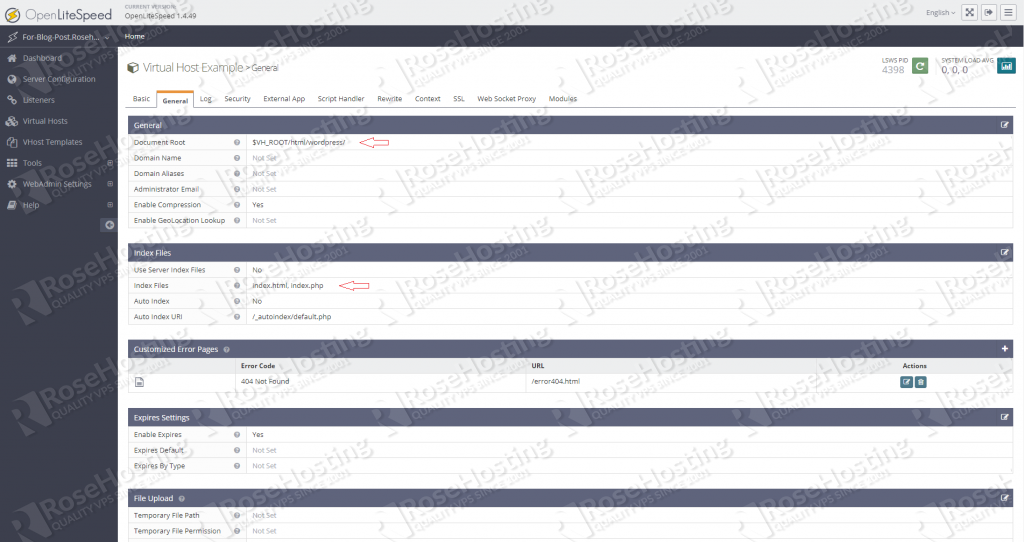
Navigate to Virtual Hosts > Select Virtual Host from List > General and modify:
Document Root:$VH_ROOT/html/wordpress/
Index Files: index.html, index.php
Navigate to WebAdmin Console > Virtual Hosts > Example > Rewrite and modify:
Enable Rewrite:Yes
Auto Load from .htaccess: Yes
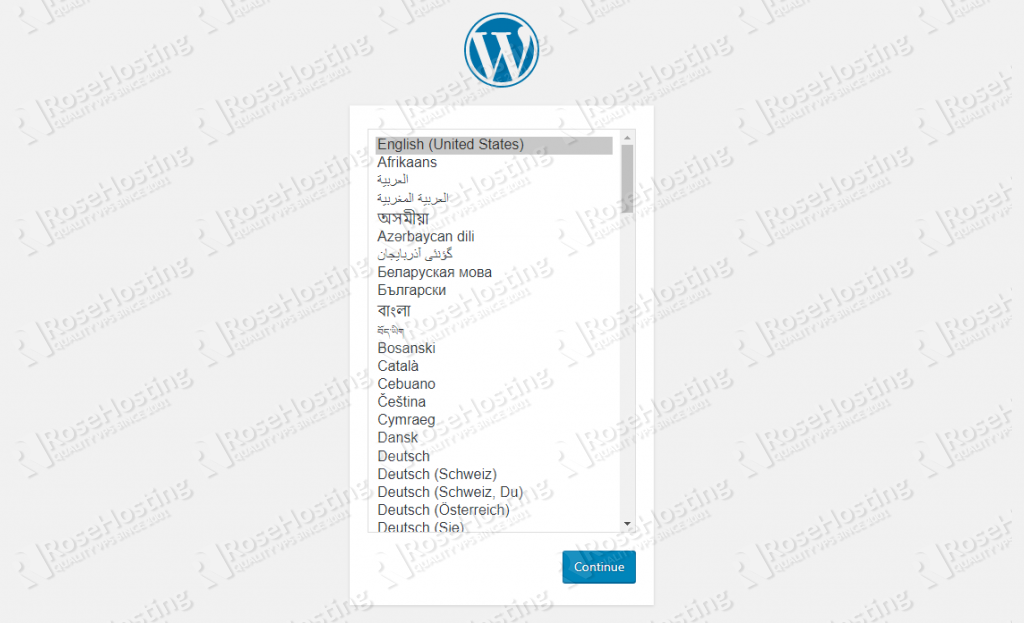
To finish the WordPress installation, open your browser, navigate to: https://your-ip-address and follow the on-screen instructions.
Congratulations! WordPress has been successfully installed on your server. You can now start building and customizing your site according to your needs.

PS. If you liked this post on how to install WordPress with OpenLiteSpeed server on Ubuntu 18.04, please share it with your friends on the social networks using the share shortcuts below, or simply leave a comment in the comments section. Thanks.



Very clear step by step tutorial ,thank you !
And how would we configure the domain?
If you have pointed the domain to your server then you will have to go to the WebAdmin console > Virtual Hosts > Add to add the virtual hosts to OpenLiteSpeed and after that create and assign a Listener in o to the WebAdmin console > Listeners. Then do a Graceful Restart and you’re done.
Thanks :)
Hello, first of all thanks a lot for this article.
GRANT ALL PRIVILEGES ON wordpressdb.* TO ‘wpuser’@’localhost’ IDENTIFIED BY ‘PASSWORD’ WITH GRANT OPTION;
I changed id, ip and password here
I’m getting this issue “You have an error in your SQL syntax; check the manual that corresponds to your MySQL server version for the right syntax to use near ‘IDENTIFIED BY ‘asit2001Sonawane’ WITH GRANT OPTION’ at line 1”
If you are using Mysql 8 version try these commands.
CREATE USER wordpressdb@localhost identified by ‘PASSWORD’;
GRANT ALL PRIVILEGES ON wordpressdb.* TO wpuser@localhost IDENTIFIED BY ‘PASSWORD’;