In this tutorial, we will explain how to install WordPress with Nginx on a Debian 10 VPS.
 WordPress is one of the most popular content management systems known all over the world. It is an open-source CMS platform based on PHP and MySQL. WordPress allows you to set up flexible and powerful websites easily. Using WordPress, you can develop a website for a small business or a large enterprise. You can extend the functionality of the WordPress site with the help of its free and premium plugins and themes. WordPress is the most user-friendly CMS compared to other content management systems.
Installing WordPress on Debian 10 with Nginx as a web server should take less than 10 minutes to complete. Let’s get started with this tutorial.
Table of Contents
Prerequisites
- A Debian 10 VPS with root access or a user with sudo privileges.
- A valid domain name that is set up and pointing to your VPS’ IP address. In this tutorial, we will use
example.comdomain.
Step 1: Log in via SSH and Update Packages
Log in to your Debian 10 VPS with SSH as the root user:
ssh root@IP_Address -p Port_number
Replace “root” with a user that has sudo privileges if necessary. Additionally, replace “IP_Address” and “Port_Number” with your server’s respective IP address and SSH port number. Next, let’s make sure that we’re on Debian 10. You can do that like this:
# lsb_release -a
You should get this as the output:
Distributor ID: Debian
Description:    Debian GNU/Linux 10 (buster)
Release:        10
Codename:       buster
Then, run the following command to make sure that all installed packages on the server are updated to their latest available versions:
# apt update && apt upgrade
Step 2: Install Nginx, PHP, and MariaDB
WordPress requires a web server on which it will serve its content. It is written in PHP and uses a MySQL/MariaDB database to store its information. We can install Nginx, MariaDB, PHP, and other PHP modules by running the following command:
apt-get install nginx mariadb-server mariadb-client php-cgi php-common php-fpm php-pear php-mbstring php-zip php-net-socket php-gd php-xml-util php-gettext php-mysql php-bcmath unzip wget git -y
Once all the packages are installed, open the php.ini file and tweak some settings:
nano /etc/php/7.3/fpm/php.ini
Make the following changes:
post_max_size = 64M
memory_limit = 256M
max_execution_time = 300
upload_max_filesize = 32M
date.timezone = America/Chicago
Save and close the file, then restart PHP-FPM service to apply the configuration changes:
systemctl restart php7.3-fpm
Note: You can change the above PHP settings as per your requirements.
Step 3: Configure a WordPress Database
Next, we will need to create a database and user for WordPress. WordPress will use this database to store its information, and the user to have access to the database.
First, log in to MariaDB shell with the following command:
mysql -u root -p
Provide your root password when prompt then create a database and user with the following command:
MariaDB [(none)]> CREATE DATABASE wpdb;
MariaDB [(none)]> CREATE USER 'wpuser'@'localhost' identified by 'dbpassword';
Don’t forget to choose a strong password for your database user.
Now, you have a valid database and user for WordPress. Next, grant all the privileges to the WordPress database:
MariaDB [(none)]> GRANT ALL PRIVILEGES ON wpdb.* TO 'wpuser'@'localhost';
Next, flush the privileges to apply the changes we’ve made and exit from the MariaDB shell with the following command:
MariaDB [(none)]> FLUSH PRIVILEGES;
MariaDB [(none)]> EXIT;
Once you have done, you can proceed to the next step.
Step 4: Install WordPress
First, we will need to download the latest version of the WordPress source from its official website. Run the following command to download the latest release of WordPress:
cd /var/www/html/
wget https://wordpress.org/latest.tar.gz
Once the download is completed, extract the downloaded file with the following command:
tar -xvzf latest.tar.gz
Next, change the directory to wordpress and copy the sample configuration file:
cd wordpress
cp wp-config-sample.php wp-config.php
Next, open the file wp-config.php with the nano editor:
nano wp-config.php
Change the database, database user and password which we have created earlier:
// ** MySQL settings - You can get this info from your web host ** //
/** The name of the database for WordPress */
define( 'DB_NAME', 'wpdb' );

/** MySQL database username */
define( 'DB_USER', 'wpuser' );

/** MySQL database password */
define( 'DB_PASSWORD', 'dbpassword' );

/** MySQL hostname */
define( 'DB_HOST', 'localhost' );
Save and close the file.
Then, change the ownership of the wordpress directory with the following command:
chown -R www-data:www-data /var/www/html/wordpress
Step 5: Configure Nginx for WordPress
Next, we will need to create a Virtual Host configuration file for WordPress. You can create a new Virtual Host configuration file with the following command:
nano /etc/nginx/sites-available/wordpress.conf
Add the following lines:
server {
	listen 80;
	root /var/www/html/wordpress;
	index index.php index.html index.htm;
	server_name example.com;

	access_log /var/log/nginx/wordpress_access.log;
	error_log /var/log/nginx/wordpress_error.log;

	client_max_body_size 64M;

	location / {
		try_files $uri $uri/ /index.php?$args;
		}

	location ~ \.php$ {
		try_files $uri =404;
		include /etc/nginx/fastcgi_params;
		fastcgi_read_timeout 3600s;
		fastcgi_buffer_size 128k;
		fastcgi_buffers 4 128k;
		fastcgi_param SCRIPT_FILENAME $document_root$fastcgi_script_name;
		fastcgi_pass unix:/run/php/php7.3-fpm.sock;
		fastcgi_index index.php;
			}

		}
Make sure to replace example.com with your registered domain name. Save and close the file.
Then enable the newly created virtual block with the following command:
ln -s /etc/nginx/sites-available/wordpress.conf /etc/nginx/sites-enabled/
Finally, restart the nginx and PHP-FPM services to apply the configuration changes:
systemctl restart nginx
systemctl restart php7.3-fpm
Step 6: Access the WordPress Site
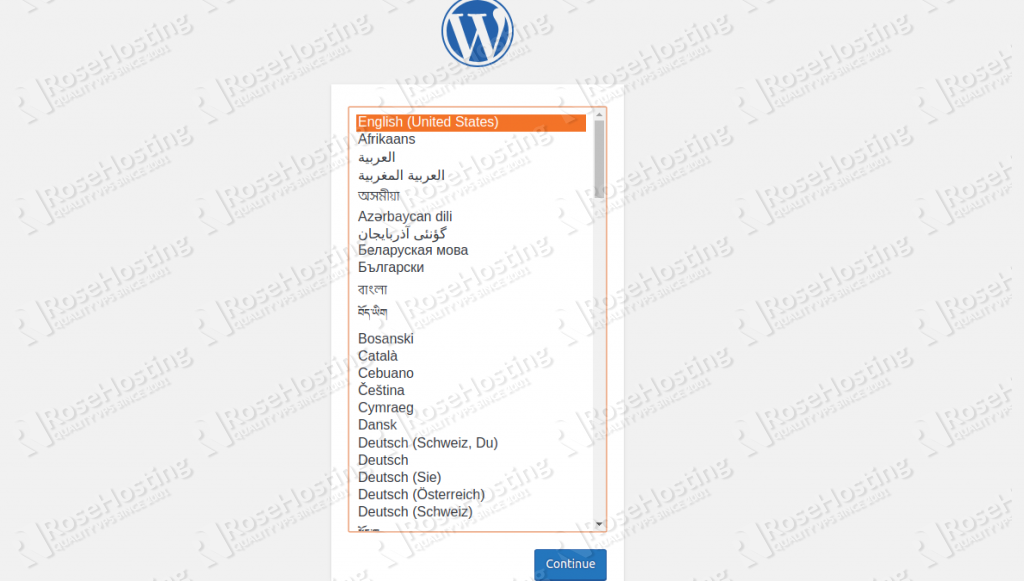
Now, open your web browser and visit the URL http://example.com. You will be redirected to the WordPress installation page:
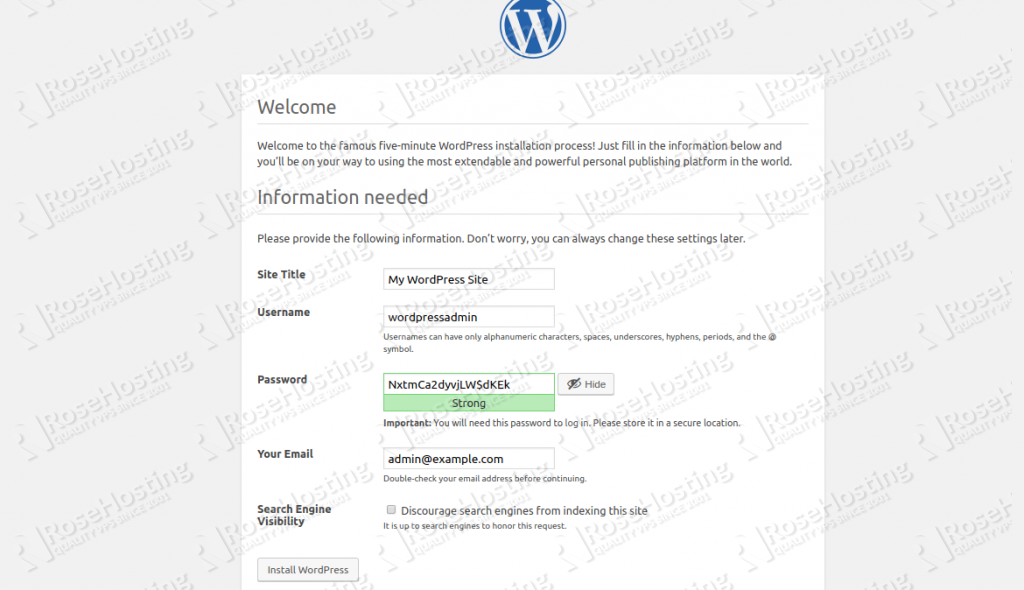
Select your language and click on the Continue button. You should see the following page:
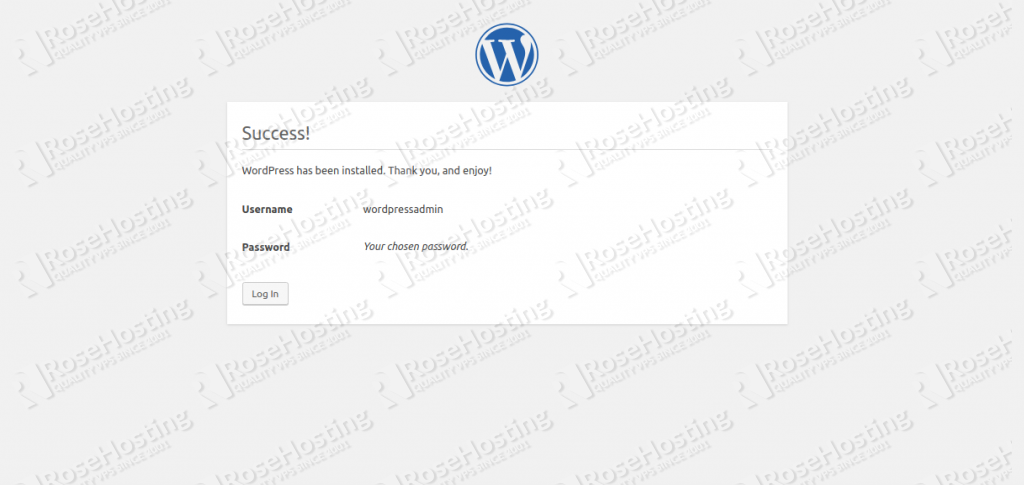
Provide your WordPress site name, Admin Username, Password, Email, and finally click on the Install WordPress button. Once the installation has been finished successfully, you should see the following page:
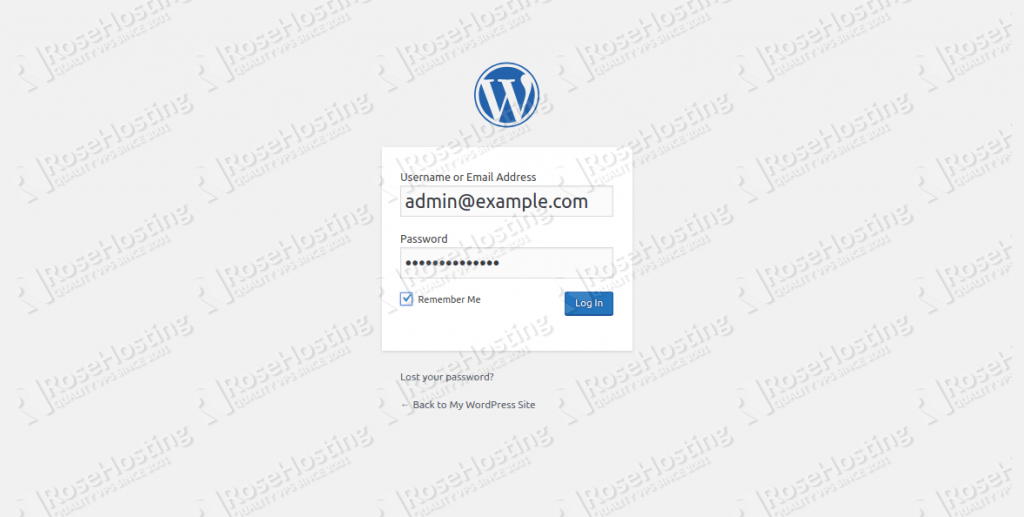
Now, click on the Log In button. You should see the WordPress login screen:
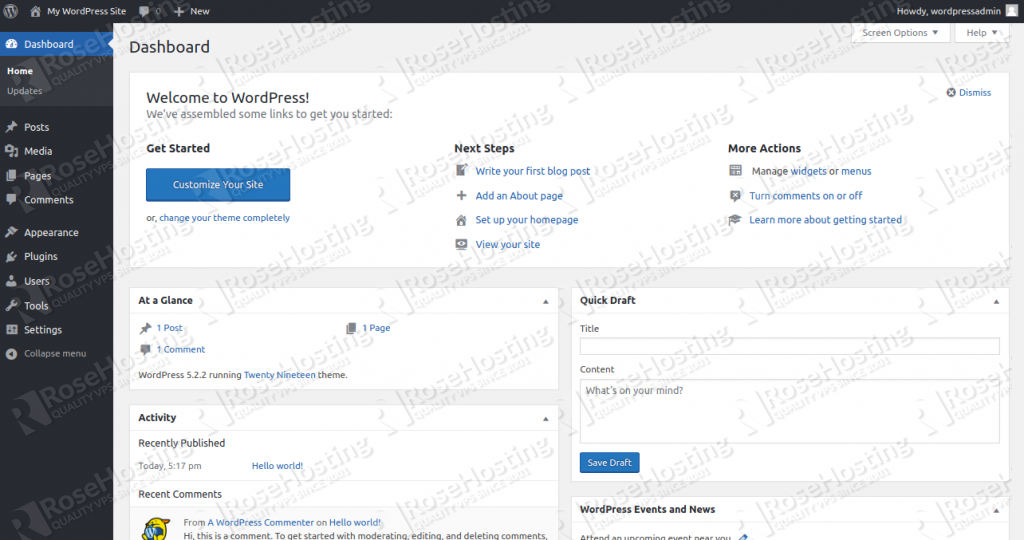
Provide your admin username or email and password, and click on the Log In button. You should see the WordPress default dashboard in the following screen:
That’s it. WordPress is now installed and ready to use. You can now start by installing new themes and plugins as per your needs. To learn more about WordPress visit the WordPress documentation.

PS. If you enjoyed reading this blog post on how to install WordPress with Nginx on Debian 10, or if you found it helpful, feel free to share it on social networks using the share shortcuts below, or simply leave a comment. Thank you.
Well done and easy to follow. Thanks!
Great instructions! What would i do differently if i already have the Nginx setup on server and already have a WordPress account? Would the same instructions apply?
You should skip the step for installing Nginx. You only need to proceed with the configuration of Nginx.
So I followed the instructions as per the guide here. Which is quite an easy read, so thank you.
I am facing one issue, when I type in the name of the site it takes me to “Welcome to nginx” page instead of the wordpress install. What could I have missed or done in-correctly? Please adivce.
Please make sure to enable the newly created website configuration file.
I had the same problem. My fix was the using of the command
curl -s https://api.wordpress.org/secret-key/1.1/salt/and then replace the default values of wp-config.php (Step 5)
Really good guide, thank you!! Worked seamlessly.
Worked until the last step when the “nginx successful…” site showed up.
My fix:
I already set up nginx, all my websites are located in /var/www
1. sudo mv /var/www/html/wordpress/ /var/www/
2. sudo nano /etc/nginx/sites-available/wordpress.conf
changed it to the new location
3. sudo chown -R $USER:$USER /var/www/wordpress
4. sudo chmod -R 755 /var/www/wordpress
5. sudo rm /etc/nginx/sites-enabled/wordpress.conf
6. sudo ln -s /etc/nginx/sites-available/wordpress.conf /etc/nginx/sites-enabled/
7. sudo nginx -t
8. sudo systemctl restart nginx
9. sudo systemctl restart php7.3-fpm
10. continue with step 6